Quickstart
Run the DVARA AI governance platform locally with a single docker compose up, create your first tenant and API key in the DVARA Flightdeck, and make a governed, OpenAI-compatible chat completion — end to end in under five minutes. Policy, PII scanning, budget enforcement, and the audit trail kick in on the very first request.
This page uses the ready-made quick-start stack from the dvara-examples repository. For every other deployment topology (multi-provider, Ollama, full MCP), see Docker Compose Setup.
The DVARA LLM Gateway and the DVARA Flightdeck both need a DVARA--prefixed license envelope to start (the DVARA MCP Proxy in the full stack reuses the same envelope — pick one key for all three).
Get a self-hosted trial license (pick one):
- Book a demo — book a slot (also reachable from the navbar). Share your name, work email, company, team size, and a use case — explicitly mention you need a trial license for a self-hosted install. The team emails a 30-day trial envelope back, typically the same business day.
- Email support — if the web form is blocked (corporate proxy, SSO, air-gapped), email support@dvarahq.com with the same details. A human replies with a 30-day trial envelope the same business day.
For applying the key across all planes, renewal, and what happens at expiry, see Get and apply a license.
Prerequisites
- Docker 20.10 or later with Compose v2 (
docker compose, not the legacydocker-compose). - A DVARA license key (trial or production).
- At least one provider API key. The
quick-startstack is wired for OpenAI only (OPENAI_API_KEY=sk-...). To use more providers out of the box, jump to the multi-provider stack. To run with no external provider at all, see the Ollama stack for local models. - Free TCP ports 8080 (gateway data plane), 8090 (DVARA Flightdeck), and 5432 (PostgreSQL). If any of these are taken, edit the
ports:mappings indocker-compose.ymlbefore starting the stack.
Step 1: Clone the examples and pick a stack
git clone https://github.com/dvarahq/dvara-examples.git
cd dvara-examples/docker-compose/quick-start
The quick-start/ stack runs three services:
- PostgreSQL (port
5432) — config, audit, and tenant store for the governance platform. Requires PostgreSQL 14 or later; the example stack pinspostgres:16-alpine. - DVARA LLM Gateway (port
8080) — the governed data plane that serves OpenAI-compatible API calls. - DVARA Flightdeck (port
8090) — the web UI and Automation API for managing policies, tenants, budgets, and the audit trail.
Step 2: Configure your keys
cp .env.example .env
Open .env in your editor. The committed .env.example lists every variable the quick-start stack expects:
# .env — quick-start stack
DVARA_LICENSE_KEY=DVARA-...<your-license-envelope>

# required secrets — generate each: `openssl rand -base64 32`
DVARA_ENCRYPTION_MASTER_PASSWORD=<openssl-rand-output>
DVARA_ACTUATOR_API_KEY=<openssl-rand-output>
DVARA_ACTUATOR_METRICS_API_KEY=<different-openssl-rand-output>
DVARA_AUDIT_HMAC_SECRET=<openssl-rand-output>

OPENAI_API_KEY=sk-<your-openai-key>
DB_PASSWORD=dvara
DVARA_LICENSE_KEY— your DVARA license envelope from the trial email.DVARA_ENCRYPTION_MASTER_PASSWORD— Encrypts the provider API keys that DVARA stores. Save this value somewhere safe — losing it permanently locks you out of every stored credential.DVARA_ACTUATOR_API_KEY— Bearer required by the Flightdeck License/Status page and any other authenticated actuator path (except/actuator/prometheus).DVARA_ACTUATOR_METRICS_API_KEY— separate Bearer required only by/actuator/prometheus. Must differ fromDVARA_ACTUATOR_API_KEY(principle of least privilege).DVARA_AUDIT_HMAC_SECRET— HMAC-SHA256 key for the tamper-evident audit chain. Production profiles refuse to start on the default value.OPENAI_API_KEY— your OpenAI API key. For other providers, see themulti-provider/stack.DB_PASSWORD— PostgreSQL password. Leave asdvarafor local evaluation; change it for any other environment.
To reject keyless data-plane requests with HTTP 401, also uncomment DVARA_LLM_GATEWAY_REQUIRE_API_KEY=true in .env. The default false lets unauthenticated requests through (anonymous, no tenant attribution) — convenient for the first smoke test in Step 4, but unsafe for any deployment past evaluation.
- Provider key (
sk-...) — used by the gateway to call OpenAI. Never given to client code. - DVARA key (
gw_...) — used by your application to call the gateway. Created in Step 5.
Step 3: Start the stack
docker compose up -d
The quick-start uses pull_policy: missing, so docker compose up reuses any cached image instead of fetching the newest published one. To refresh to the latest release, pull first:
docker compose pull        # fetch the pinned :1.3.0 images from GHCR
docker compose up -d       # restart with the refreshed images
First-time evaluators with no local cache skip this — the initial up pulls the most recent image automatically.
DVARA images are published linux/amd64 only. Docker Desktop on Apple Silicon pulls and runs them under Rosetta automatically — you may see a one-line The requested image's platform (linux/amd64) does not match the detected host platform (linux/arm64/v8) warning at boot, but everything works and you can ignore it. The data-plane performance overhead is negligible for evaluation workloads.
If you're running docker run directly (not docker compose), add --platform linux/amd64 to silence the warning. On non-Desktop Docker (e.g. plain Docker Engine on a Linux/arm64 host), --platform linux/amd64 is required, not optional.
The three containers (postgres, dvara-gateway, dvara-flightdeck) come up in order — PostgreSQL first (healthcheck-gated), then the gateway, then the DVARA Flightdeck. Total time on a warm Docker cache is ~30 seconds; the first run is slower because images pull from GitHub Container Registry.
Check everything is running:
docker compose ps
Expected output — all three services should report running with healthy status:
NAME                              STATUS                    PORTS
quick-start-dvara-gateway-1       Up 45 seconds (healthy)   0.0.0.0:8080->8080/tcp
quick-start-dvara-flightdeck-1    Up 30 seconds (healthy)   0.0.0.0:8090->8090/tcp
quick-start-postgres-1            Up 50 seconds (healthy)   0.0.0.0:5432->5432/tcp
Check the gateway is alive:
curl -s http://localhost:8080/actuator/health | python3 -m json.tool
For the rich gateway status (license, region, version, providers, routes, warnings), call /actuator/gateway-status with the operator's DVARA_ACTUATOR_API_KEY Bearer — or just open the DVARA Flightdeck's License page, which renders the same data through the browser session.
# The key was generated for you in .env during Step 1. Source it once:
source .env

curl -s http://localhost:8080/actuator/gateway-status \
  -H "Authorization: Bearer $DVARA_ACTUATOR_API_KEY" \
  | python3 -m json.tool
List the models the gateway currently exposes — this hits OpenAI live and returns each model with its capability flags:
curl -s http://localhost:8080/v1/models | python3 -m json.tool
For interactive prompt testing, use the Playground in the DVARA Flightdeck at http://localhost:8090/playground (requires admin login). The playground can be disabled in production with DVARA_FLIGHTDECK_PLAYGROUND_ENABLED=false.
Step 4: Make your first request
With the gateway running, make an OpenAI-compatible chat completion directly against port 8080:
curl -s -X POST http://localhost:8080/v1/chat/completions \
  -H "Content-Type: application/json" \
  -d '{
    "model": "gpt-4o",
    "messages": [
      {"role": "user", "content": "What is the capital of France?"}
    ]
  }' | python3 -m json.tool
You should see a standard OpenAI chat completion response:
{
  "id": "chatcmpl-abc123",
  "object": "chat.completion",
  "model": "gpt-4o",
  "choices": [
    {
      "index": 0,
      "message": {
        "role": "assistant",
        "content": "The capital of France is Paris."
      },
      "finish_reason": "stop"
    }
  ],
  "usage": {
    "prompt_tokens": 14,
    "completion_tokens": 8,
    "total_tokens": 22
  }
}
If the request fails
The two most common first-run errors, and what each means:
{
  "error": {
    "message": "No provider configured for model: gpt-4o. Set OPENAI_API_KEY to register the provider.",
    "type": "invalid_request_error",
    "code": "no_provider",
    "trace_id": "84423bed556c4a71a9d73758e8881d08"
  }
}
The gateway does not see an OpenAI provider registered. The error message tells you exactly which environment variable to set. Stop the stack (docker compose down), re-check the value in .env, and bring it back up — environment variables are read at container start, so editing .env while the stack is running does nothing.
{
  "error": {
    "message": "OpenAI API error 401 (invalid API key - check your provider credentials)",
    "type": "provider_error",
    "code": "provider_error",
    "trace_id": "a6783439db1f46a6bfed511a0011e955"
  }
}
The key is configured but OpenAI rejected it. Verify the key works outside DVARA with curl https://api.openai.com/v1/models -H "Authorization: Bearer $OPENAI_API_KEY".
Step 5: Create a tenant and your first API key
The request above went through the gateway without an API key. This bypasses all tenant-scoped enforcement (rate limits, budgets, policies, PII detection, cost attribution) and should only be used for initial smoke testing. Real applications authenticate with a DVARA API key that identifies a tenant — that is how all governance features work.
Set DVARA_LLM_GATEWAY_REQUIRE_API_KEY=true to reject keyless requests with 401. Without this, requests bypass all tenant-scoped governance.
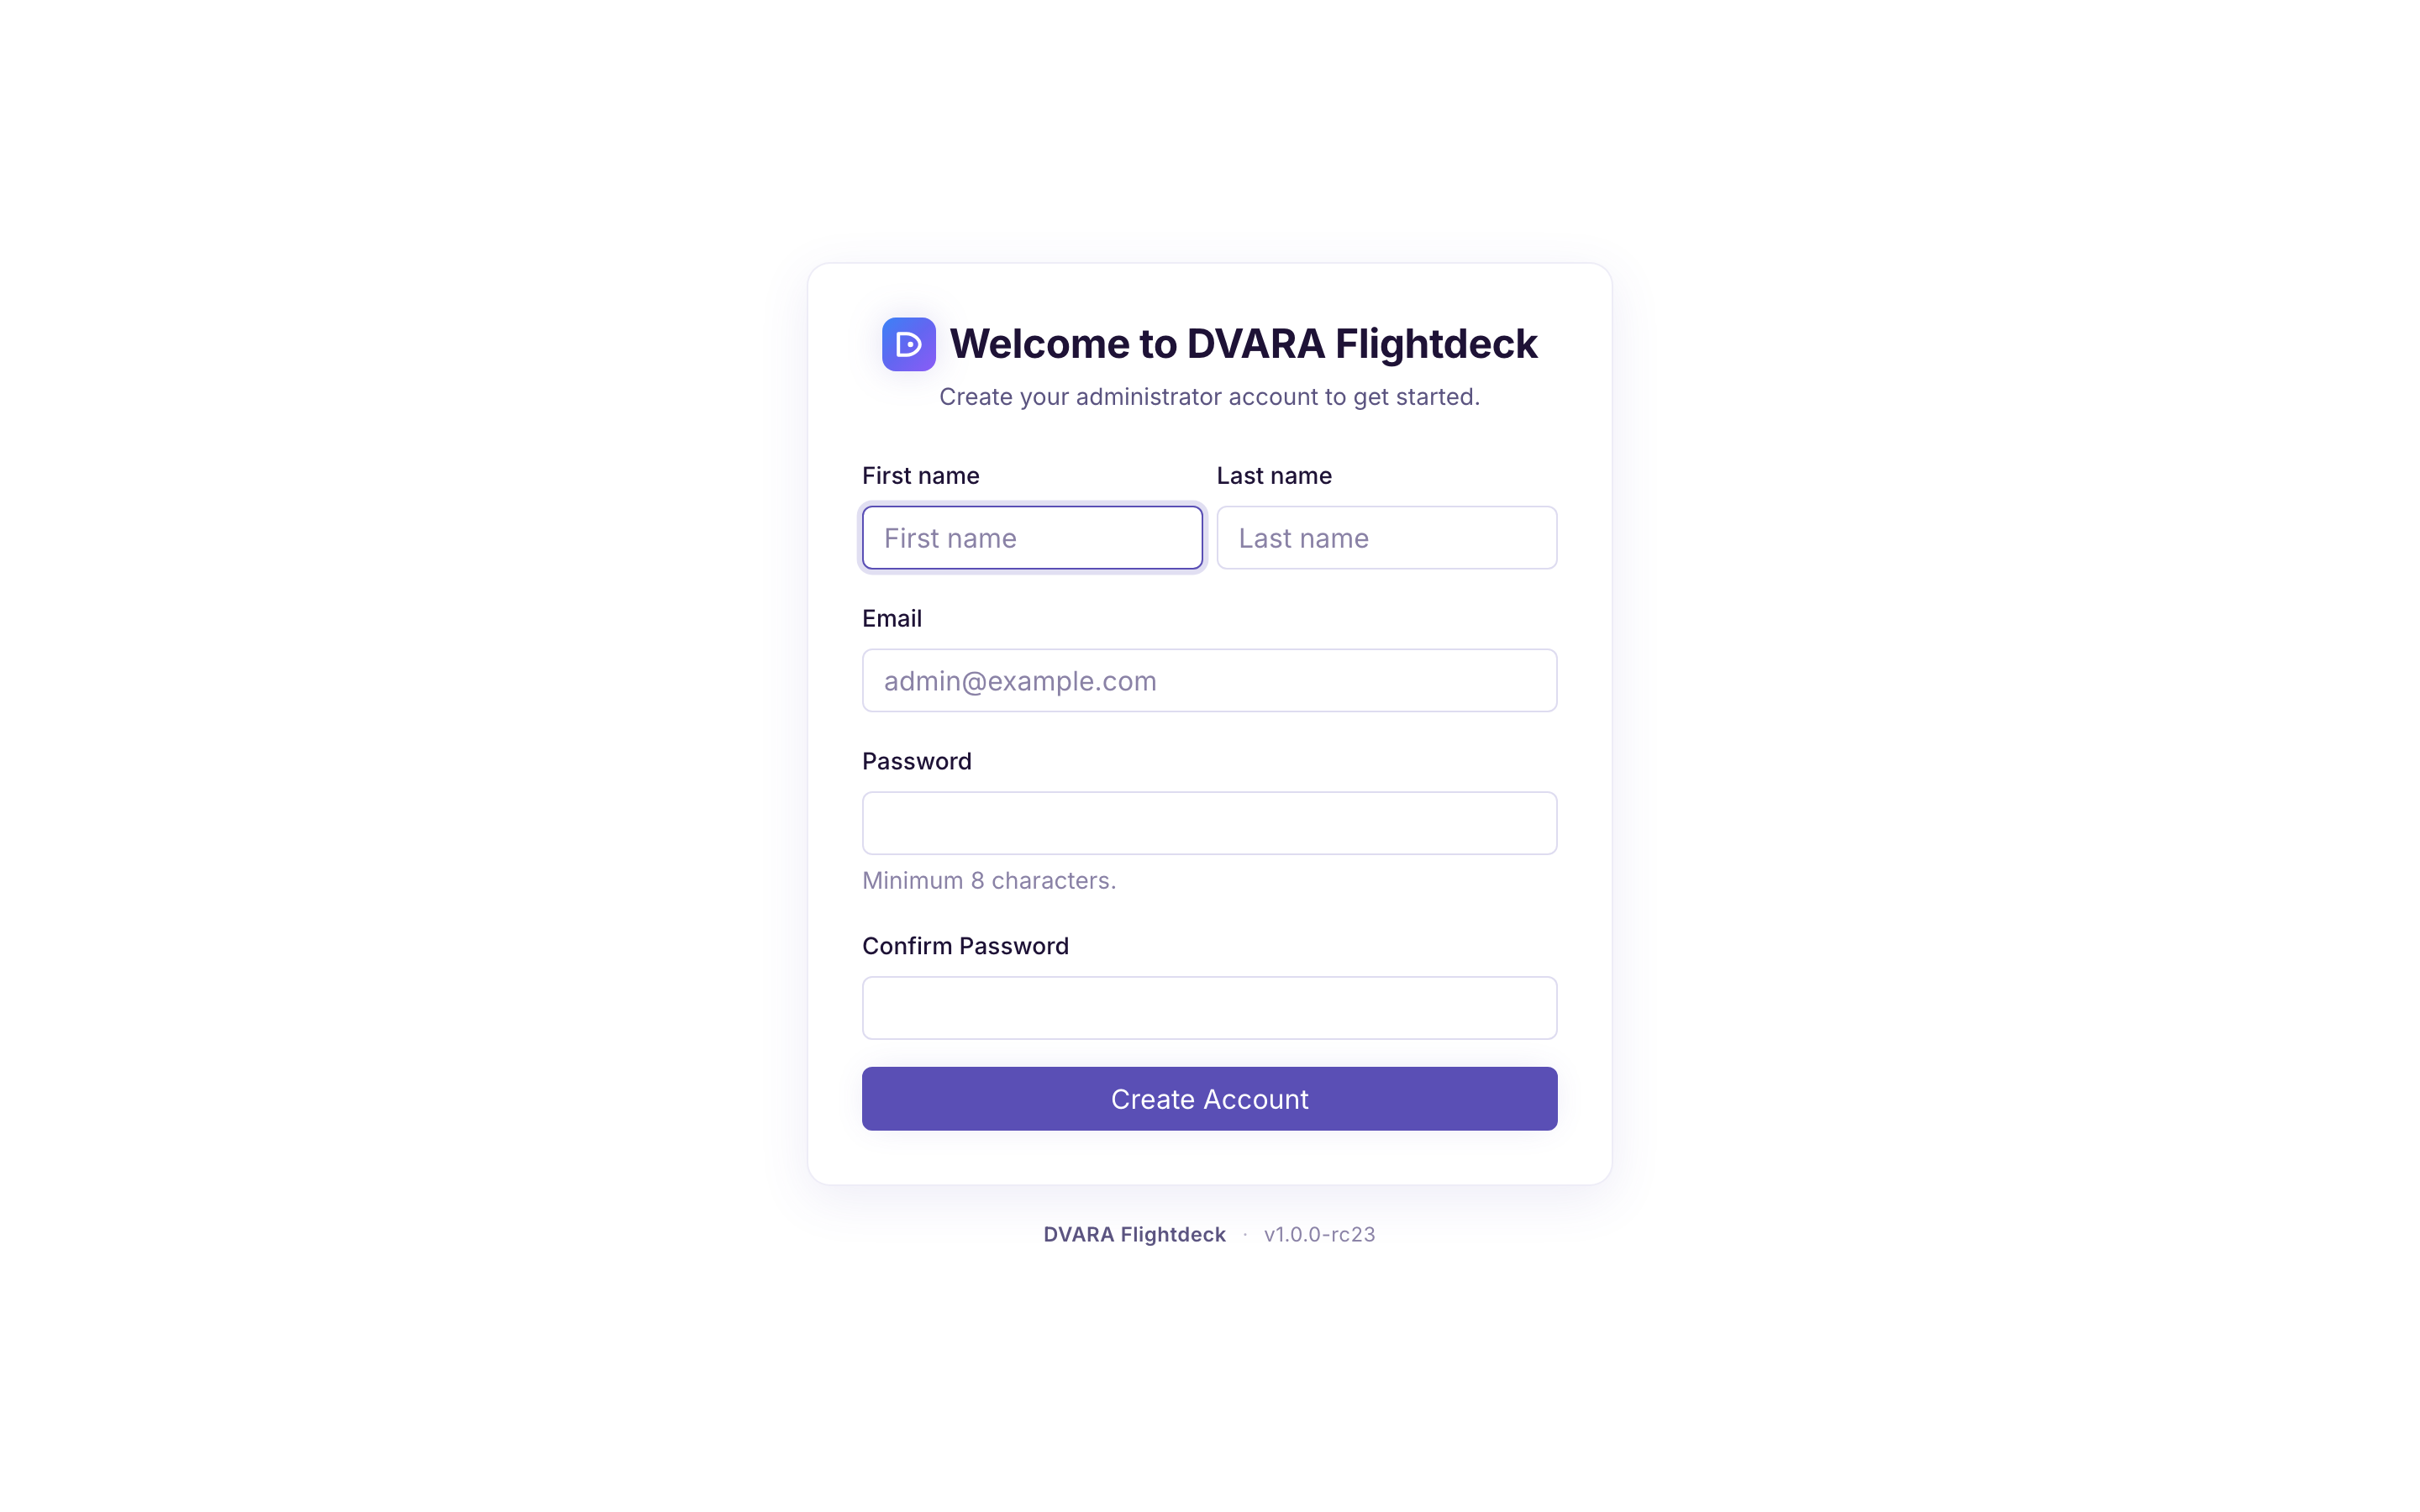
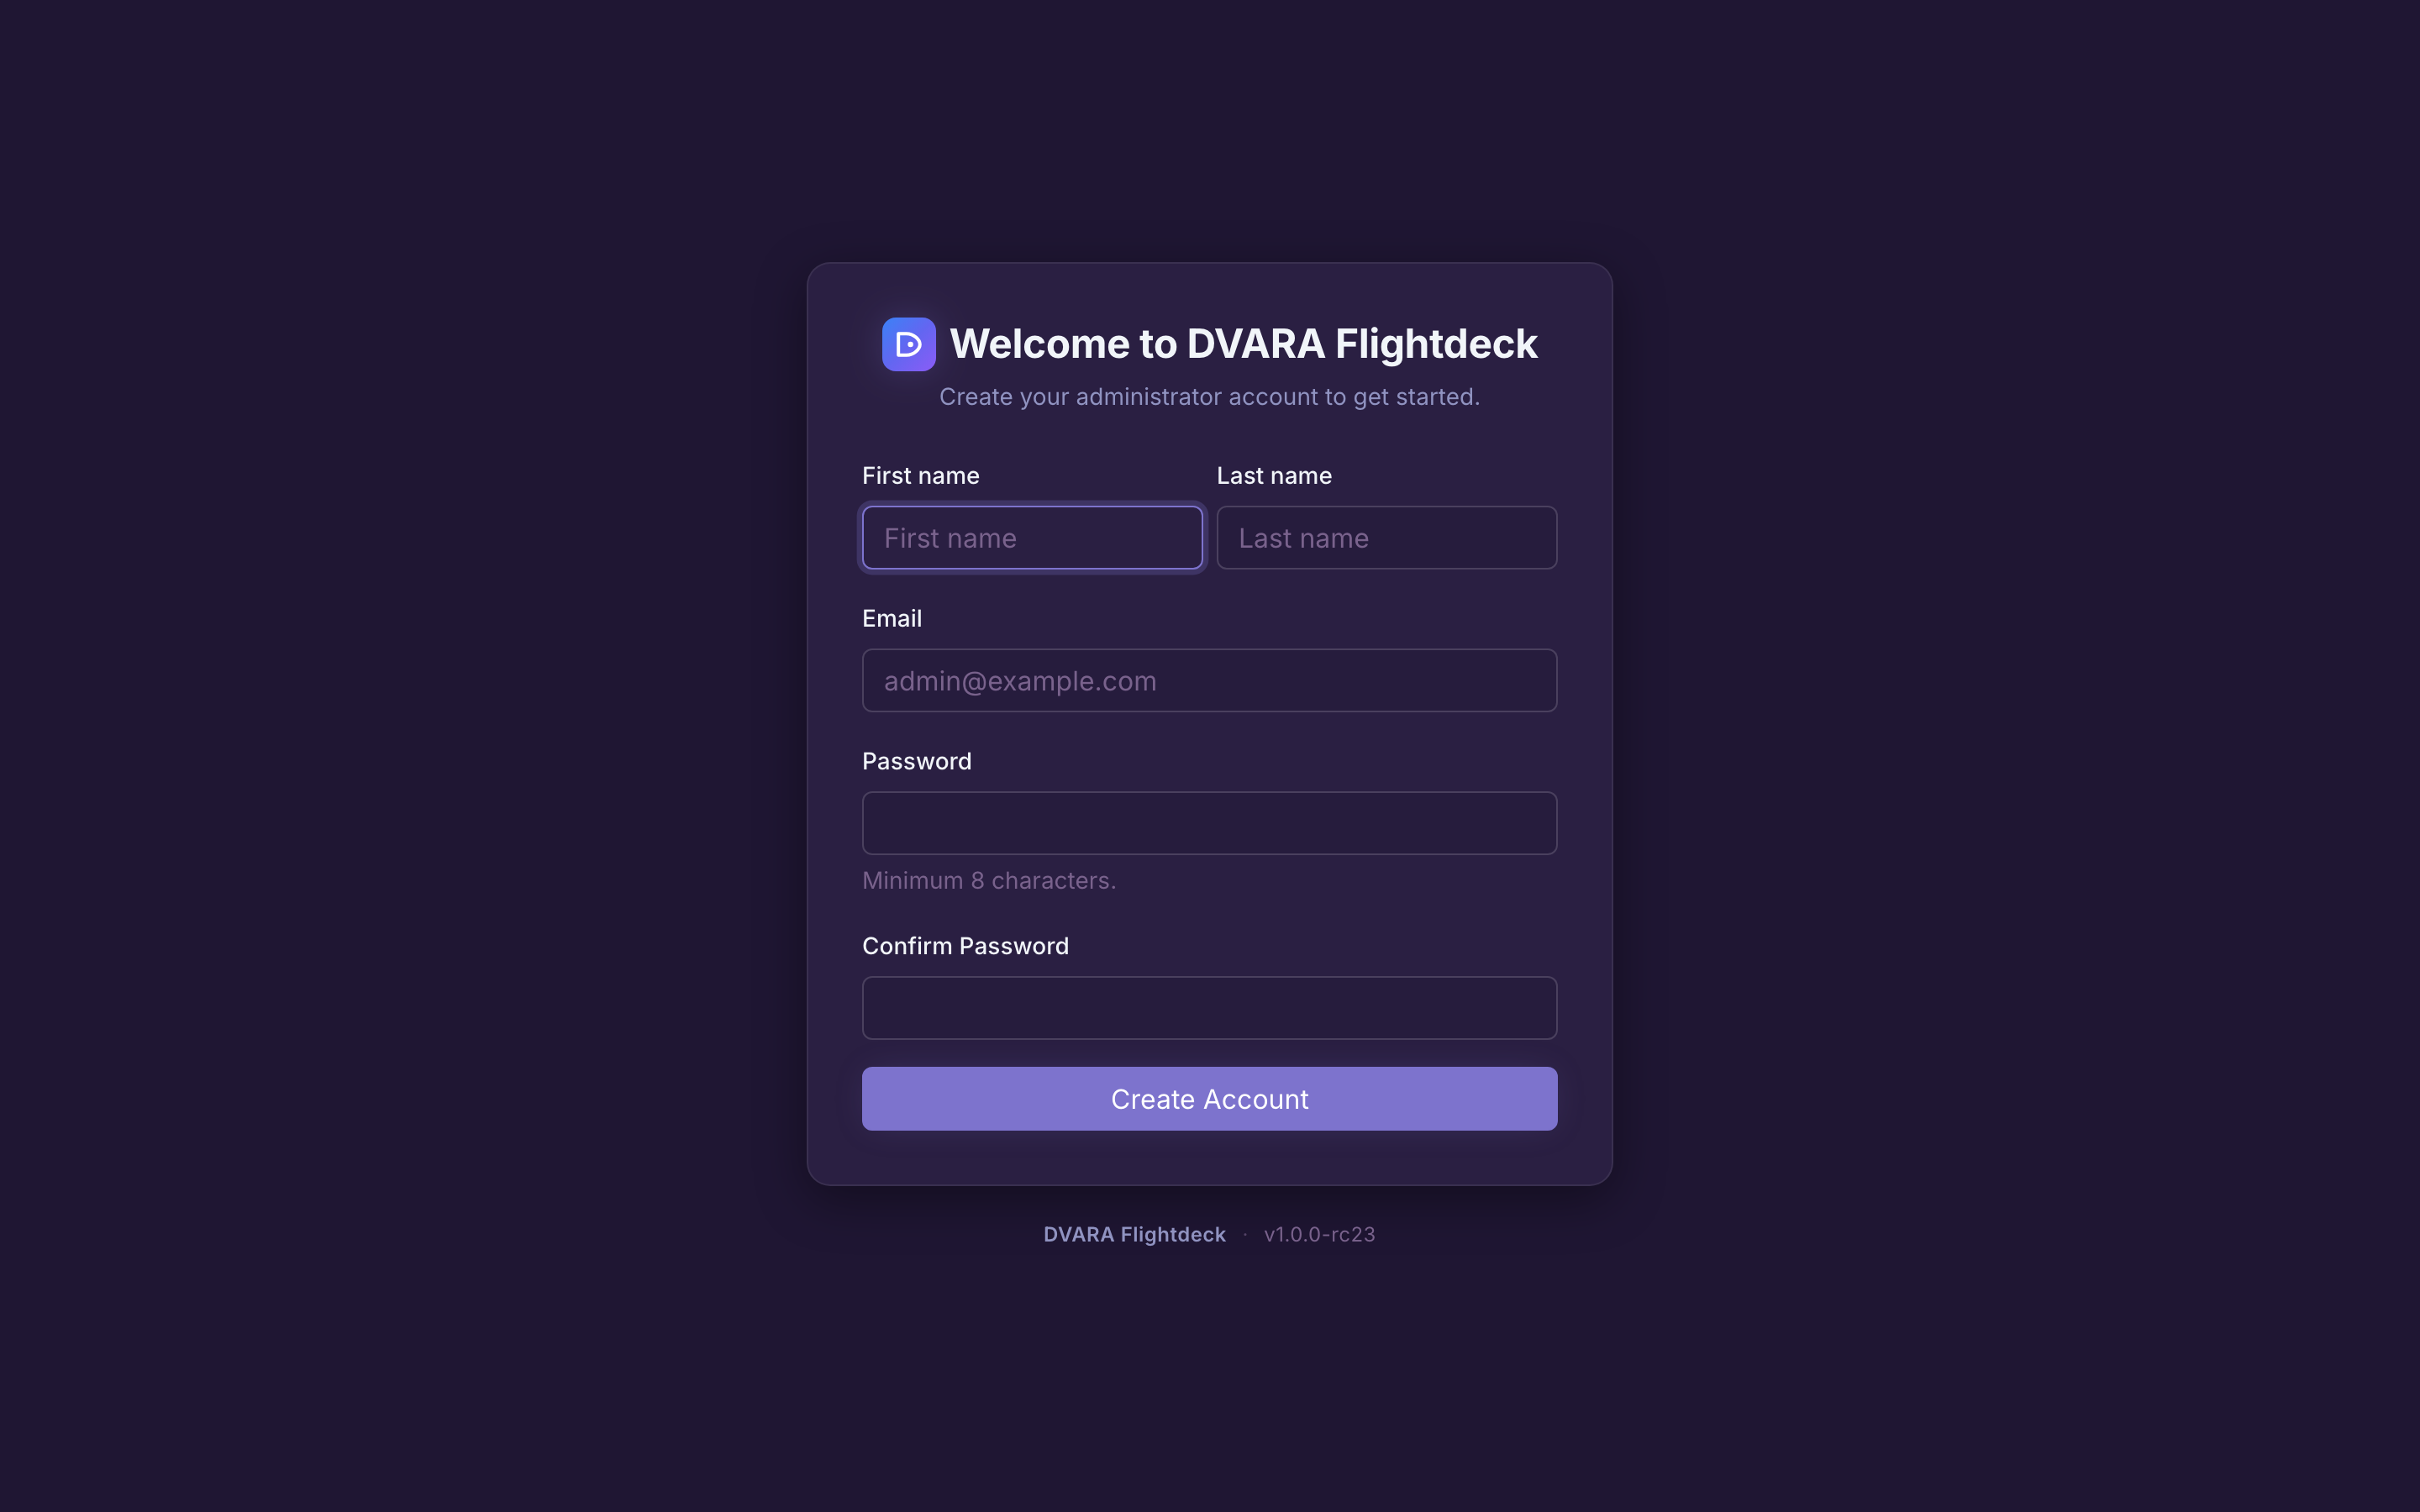
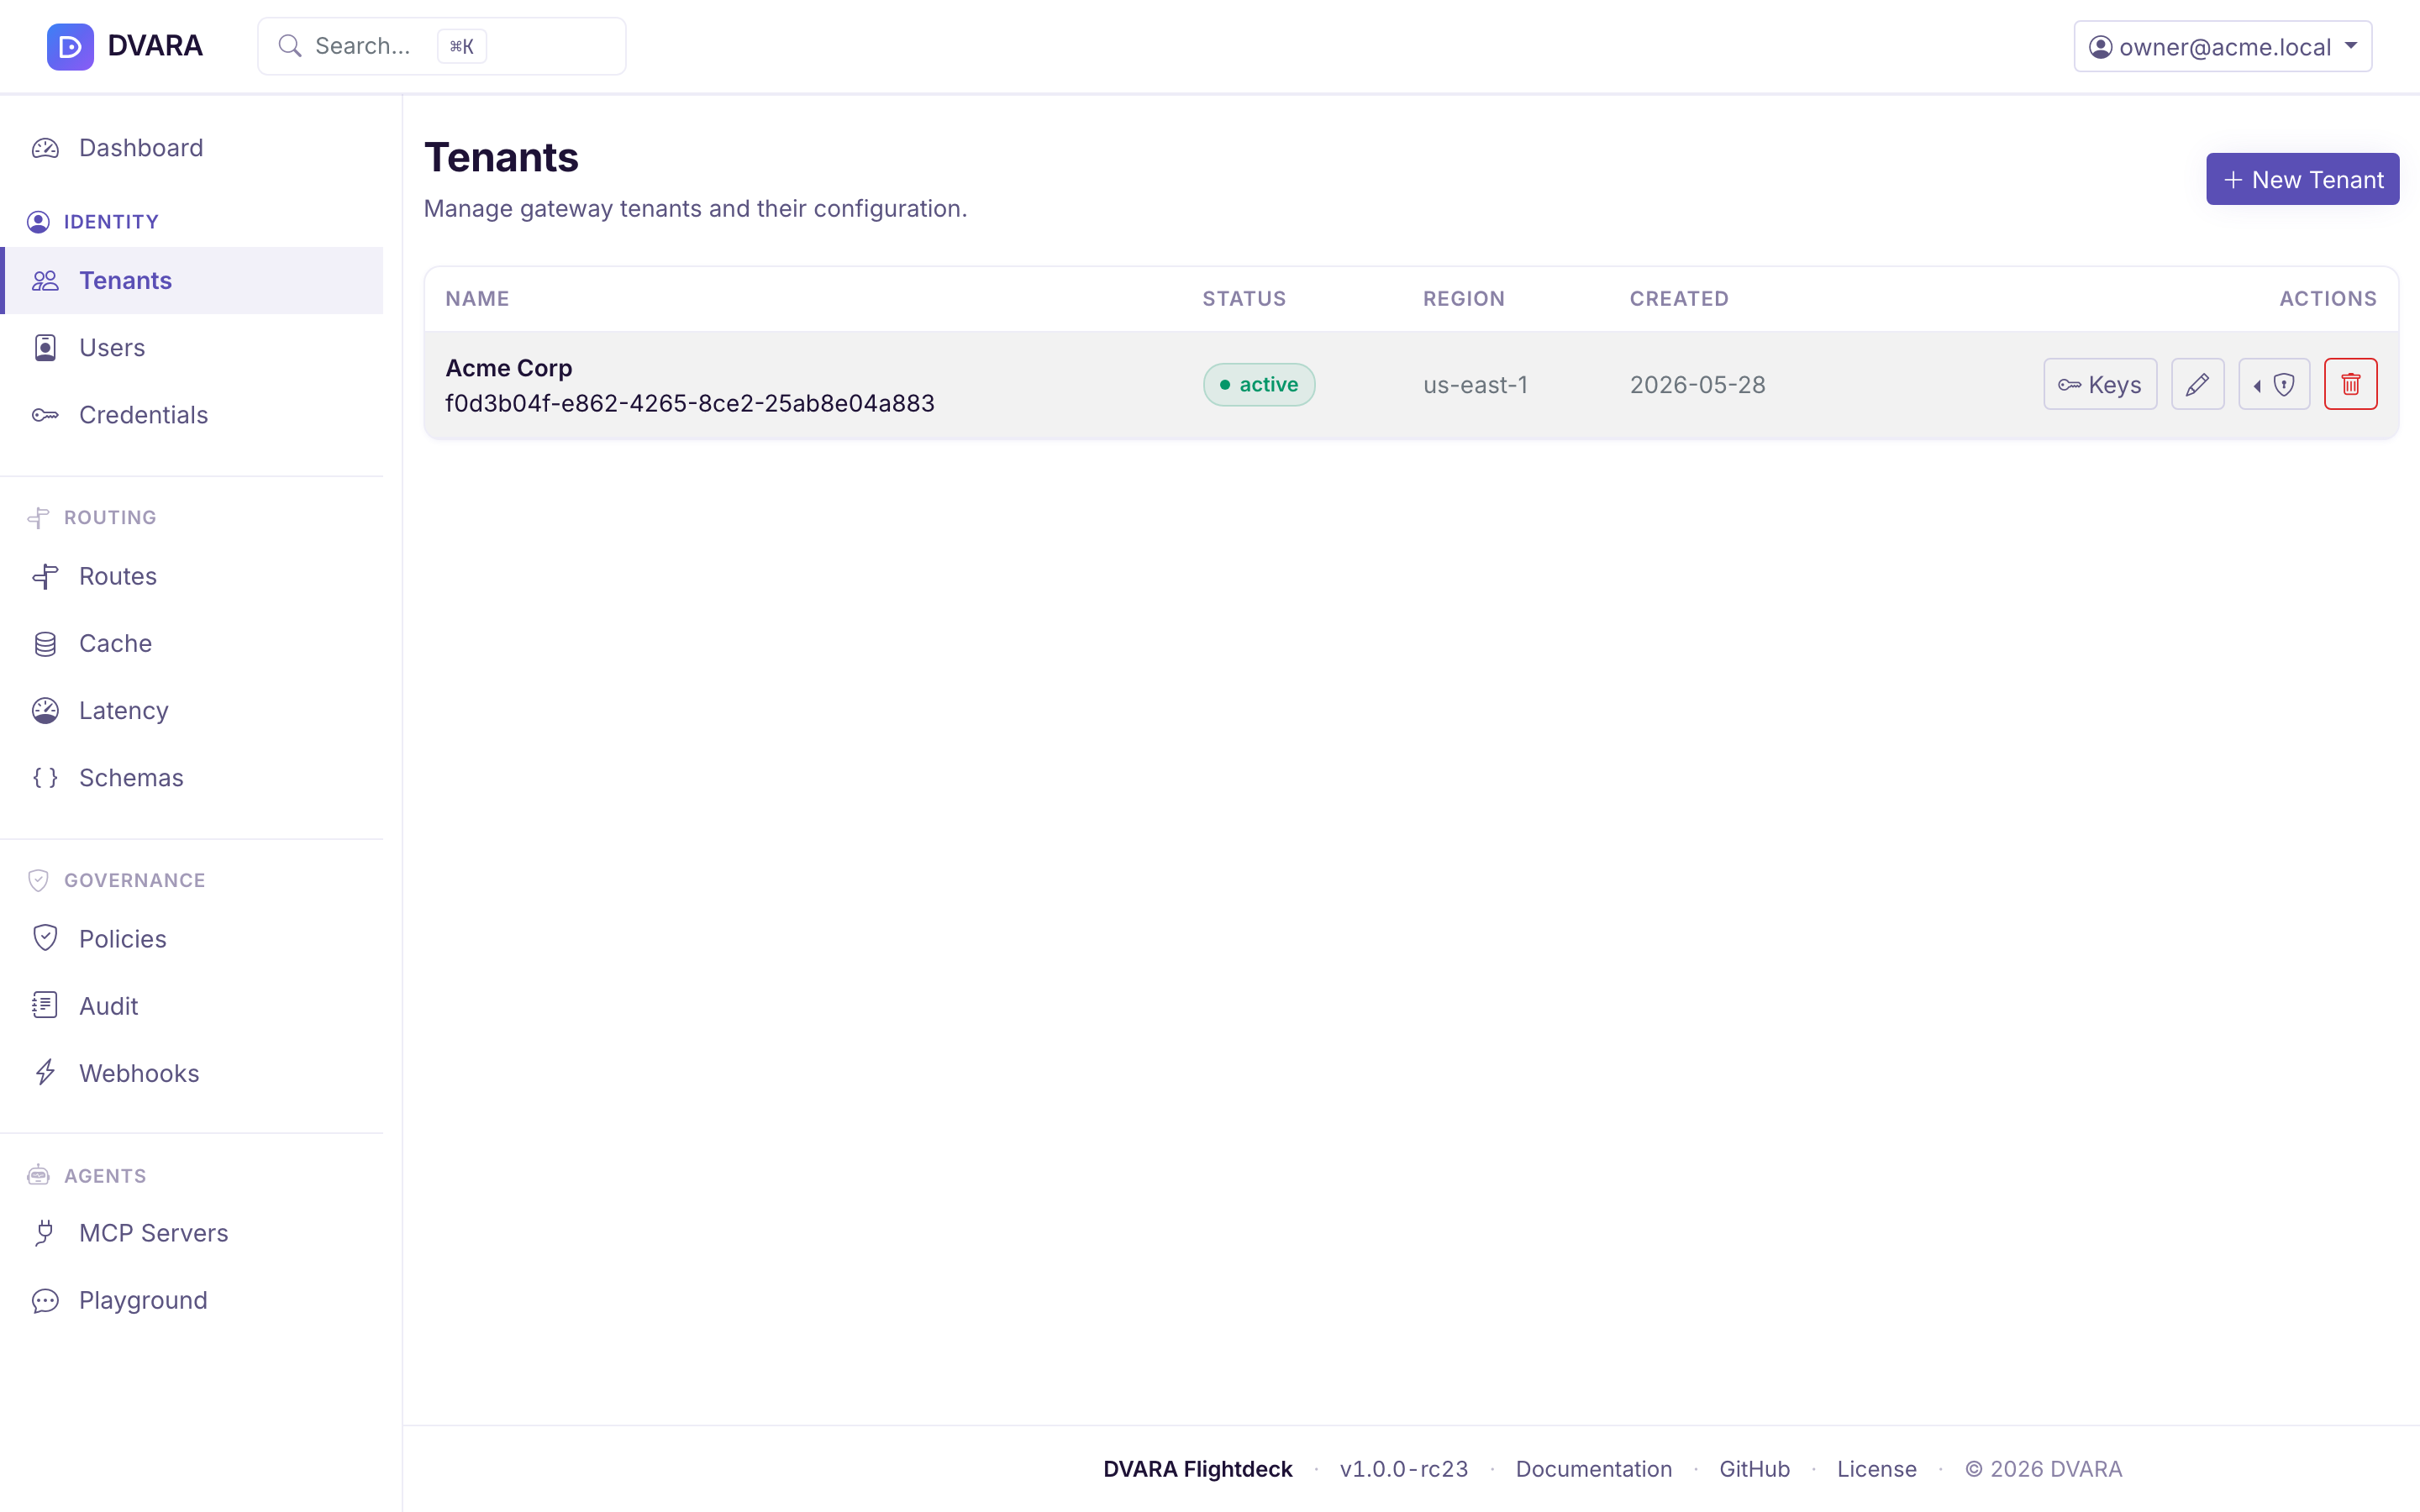
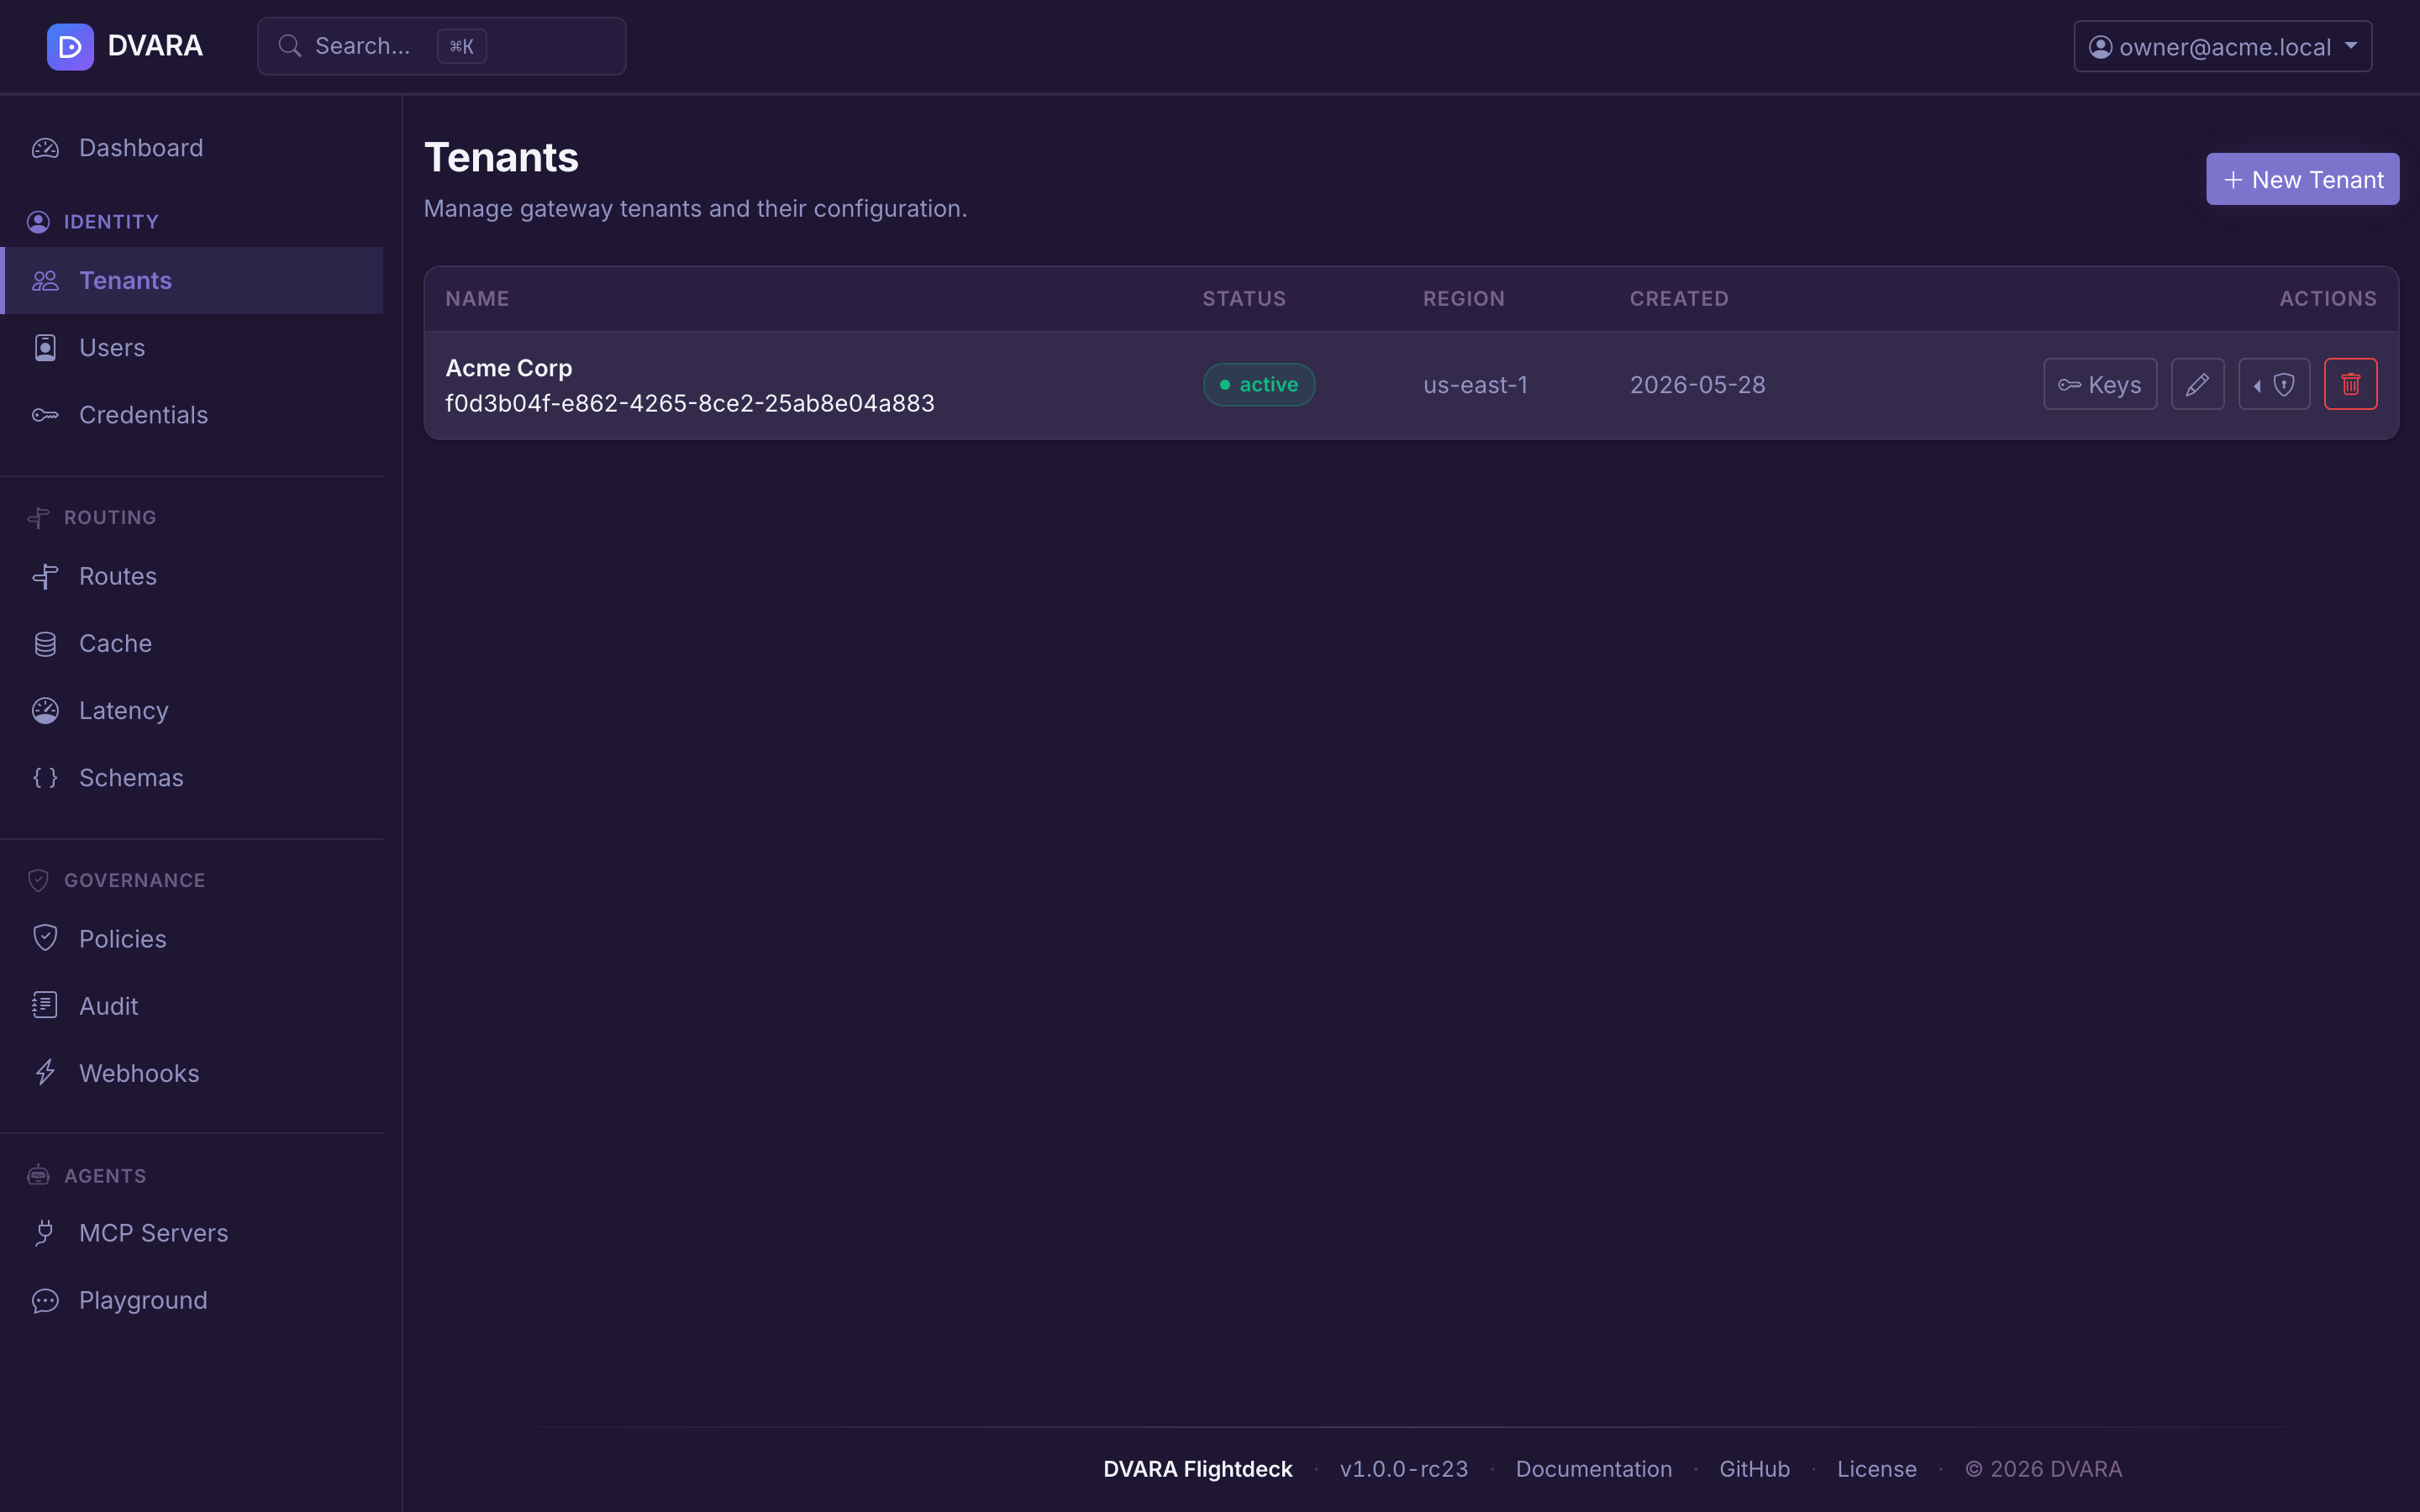
Open the DVARA Flightdeck at http://localhost:8090. On first visit you will be redirected to /setup to create the initial owner account (email + password).
Once you are signed in:
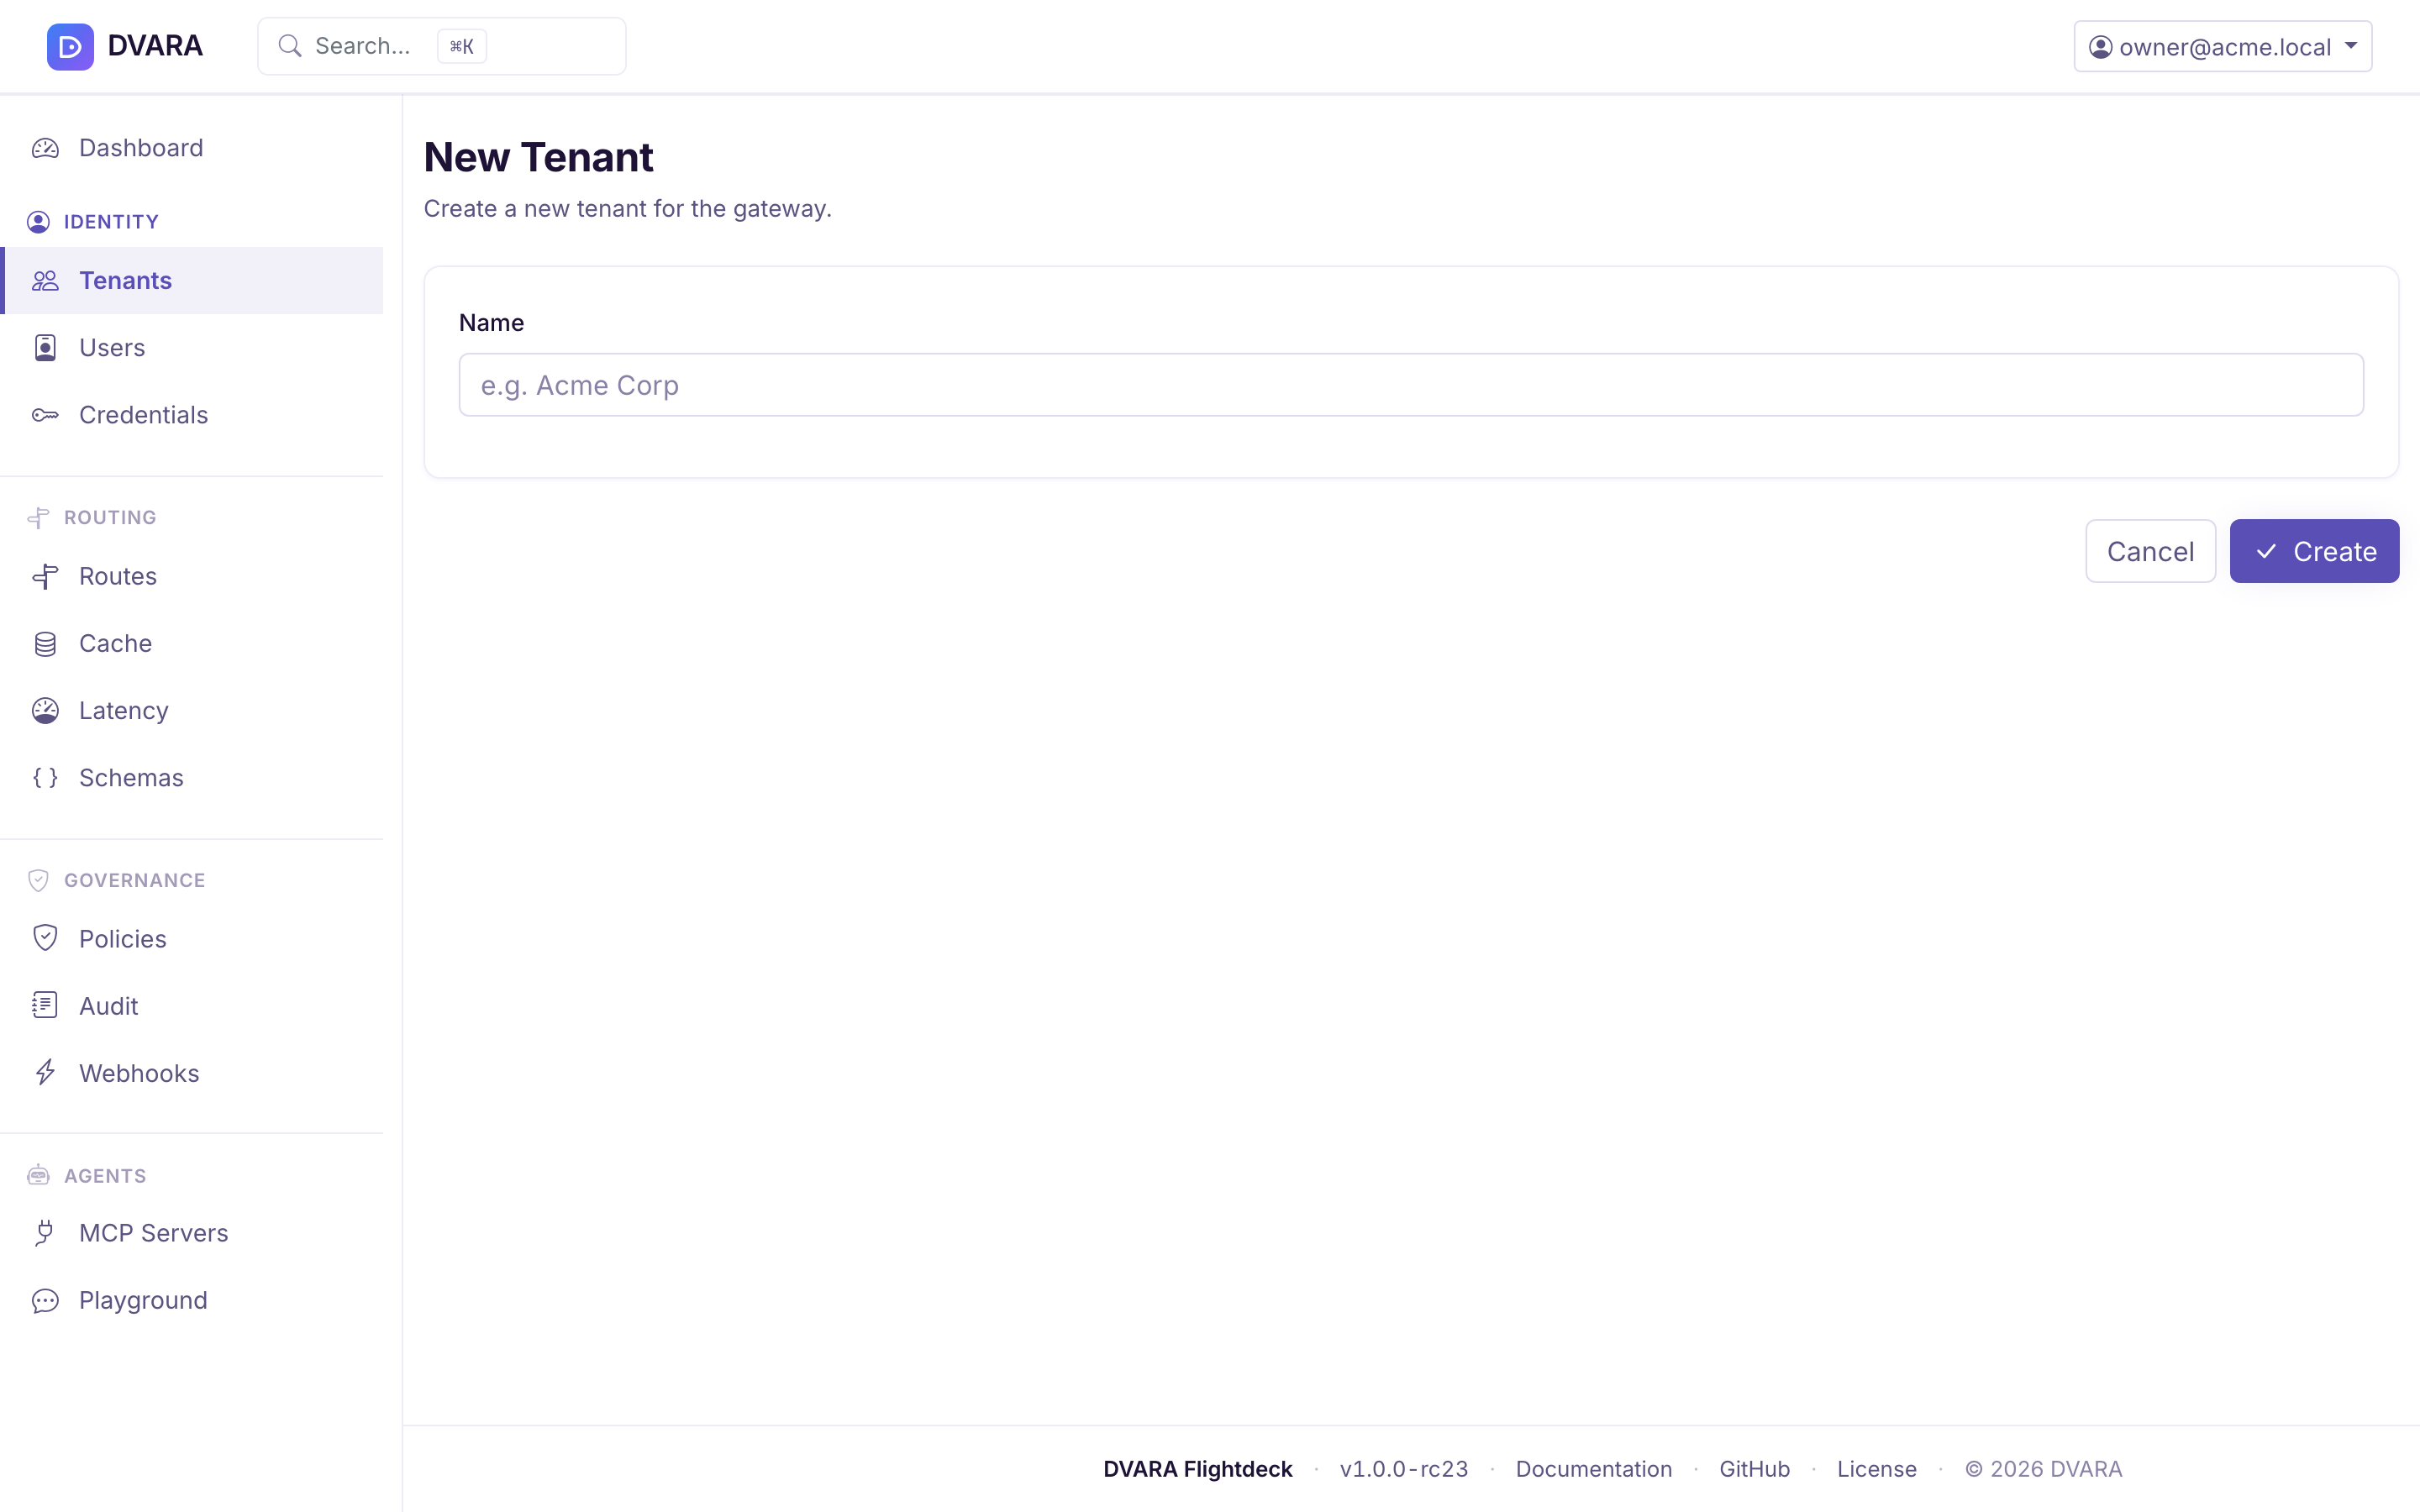
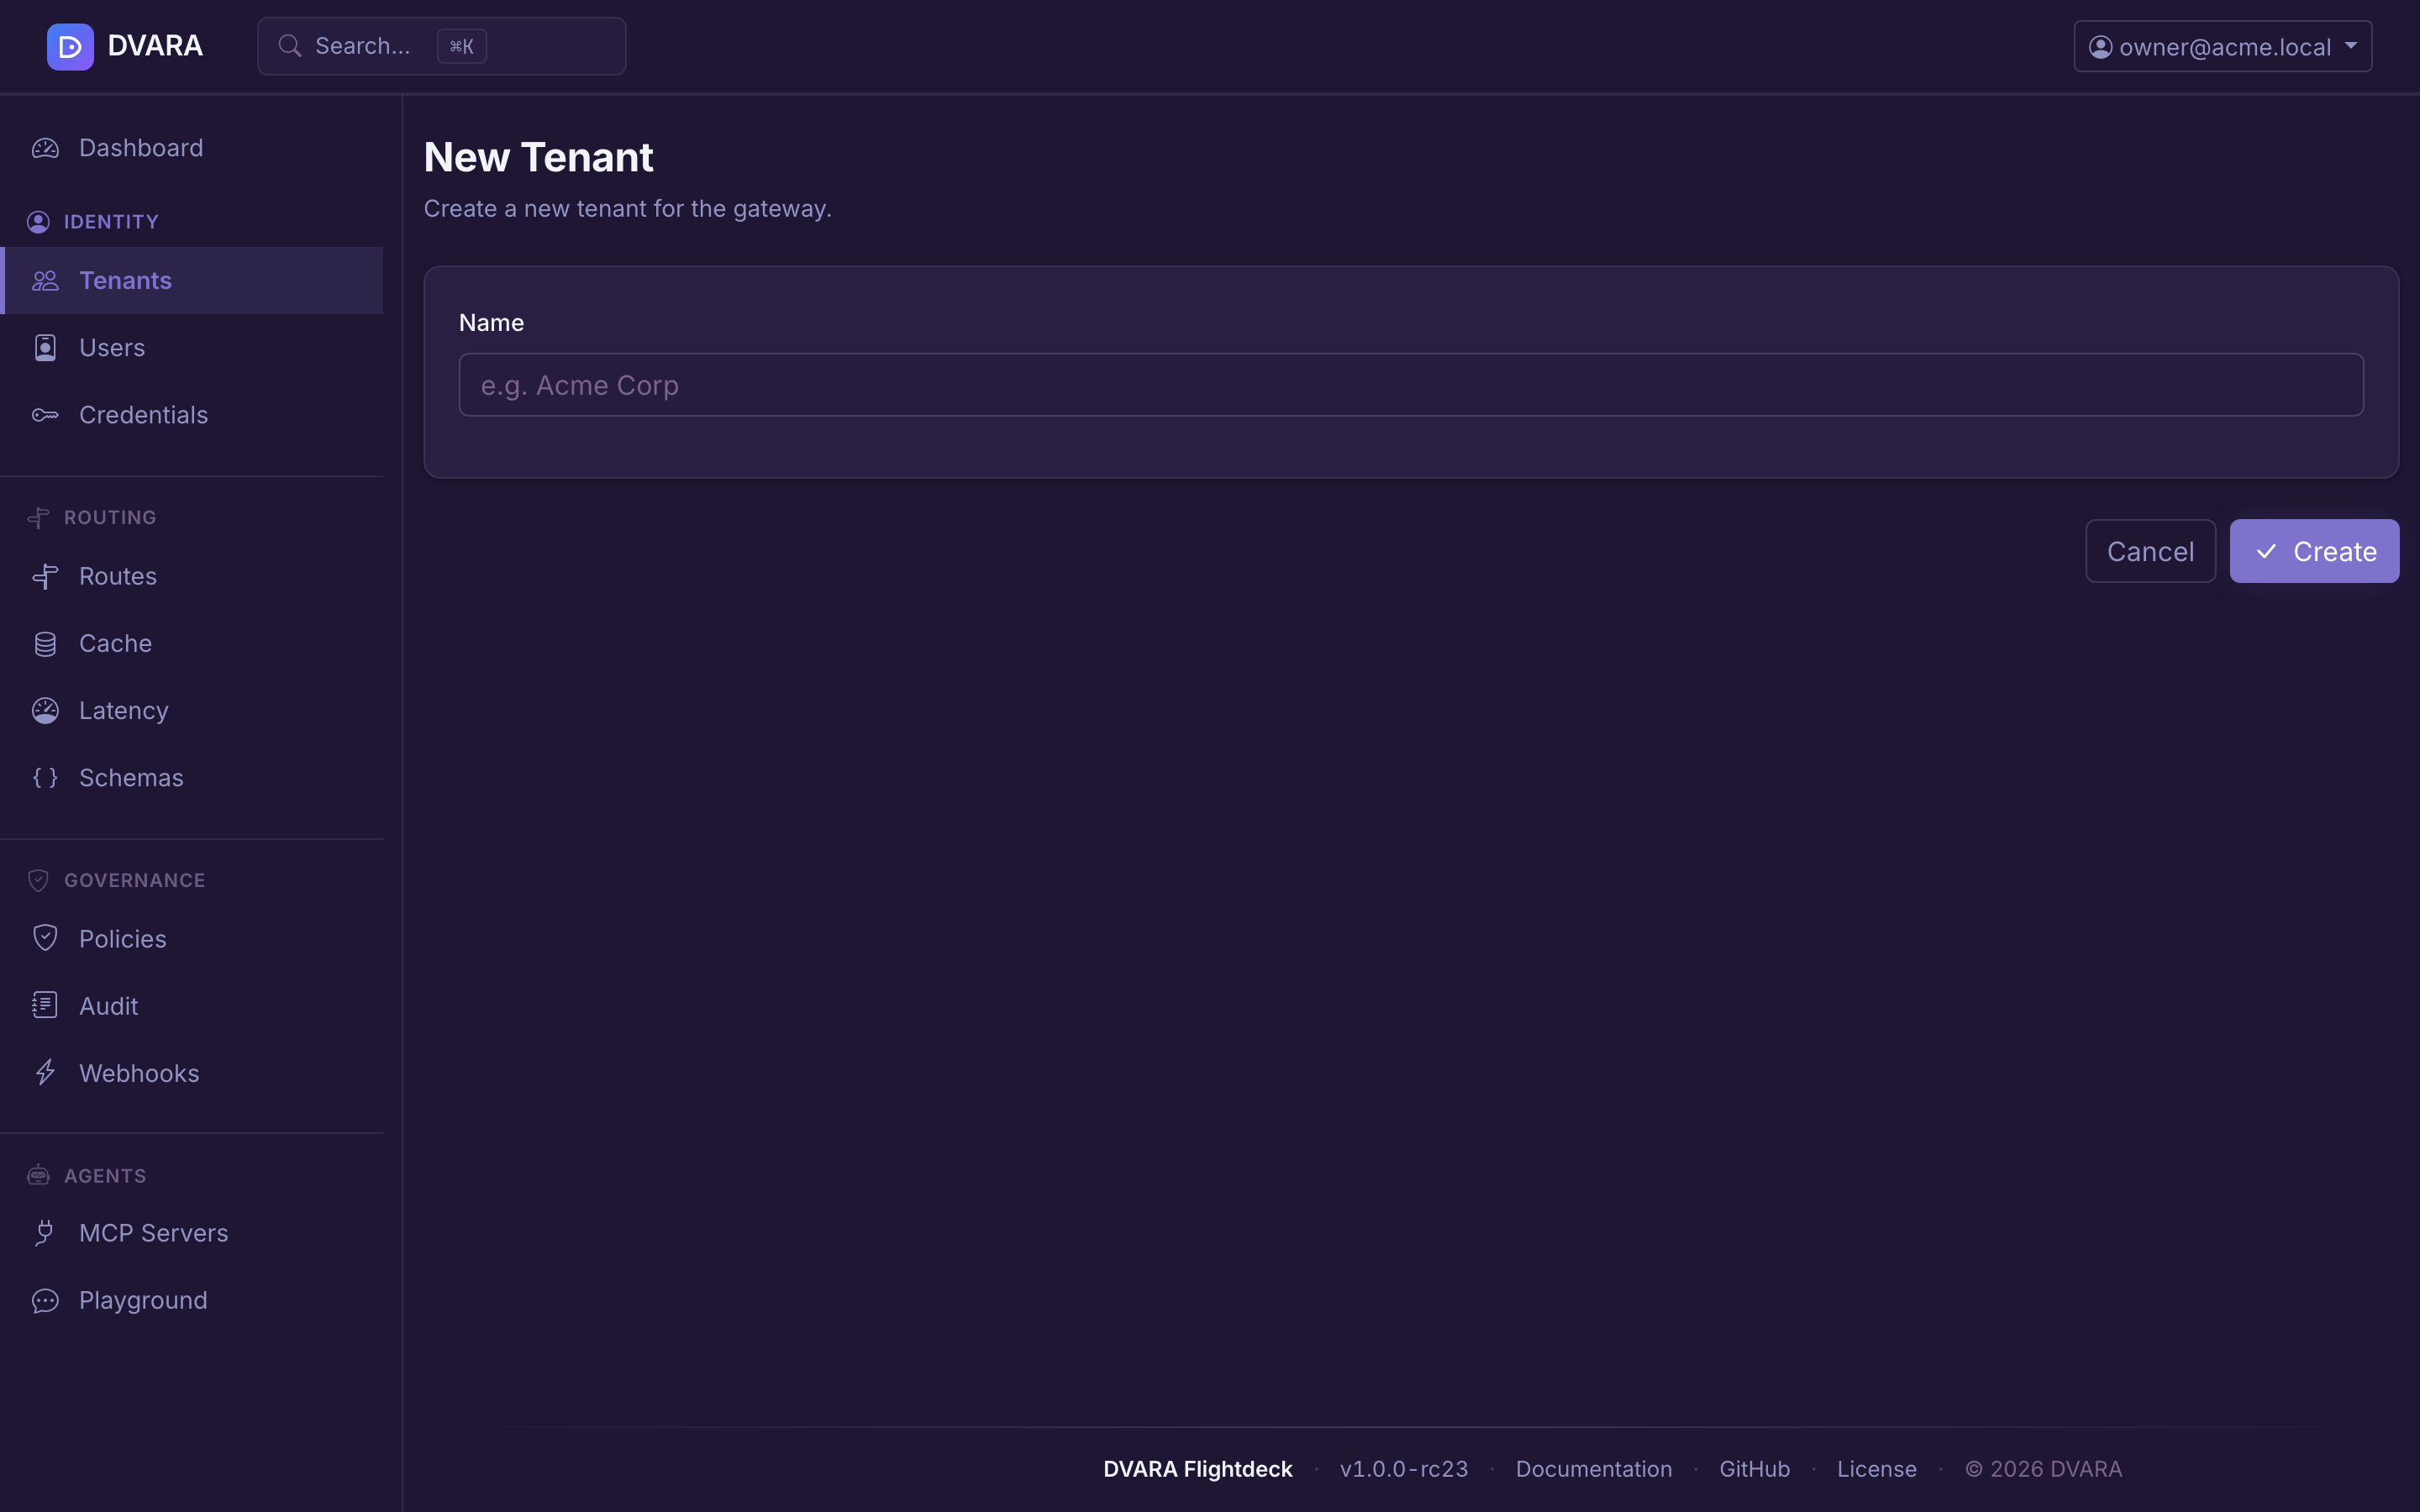
- Tenants → Create Tenant. Give it a name like
My Teamand leave the defaults. Submit.
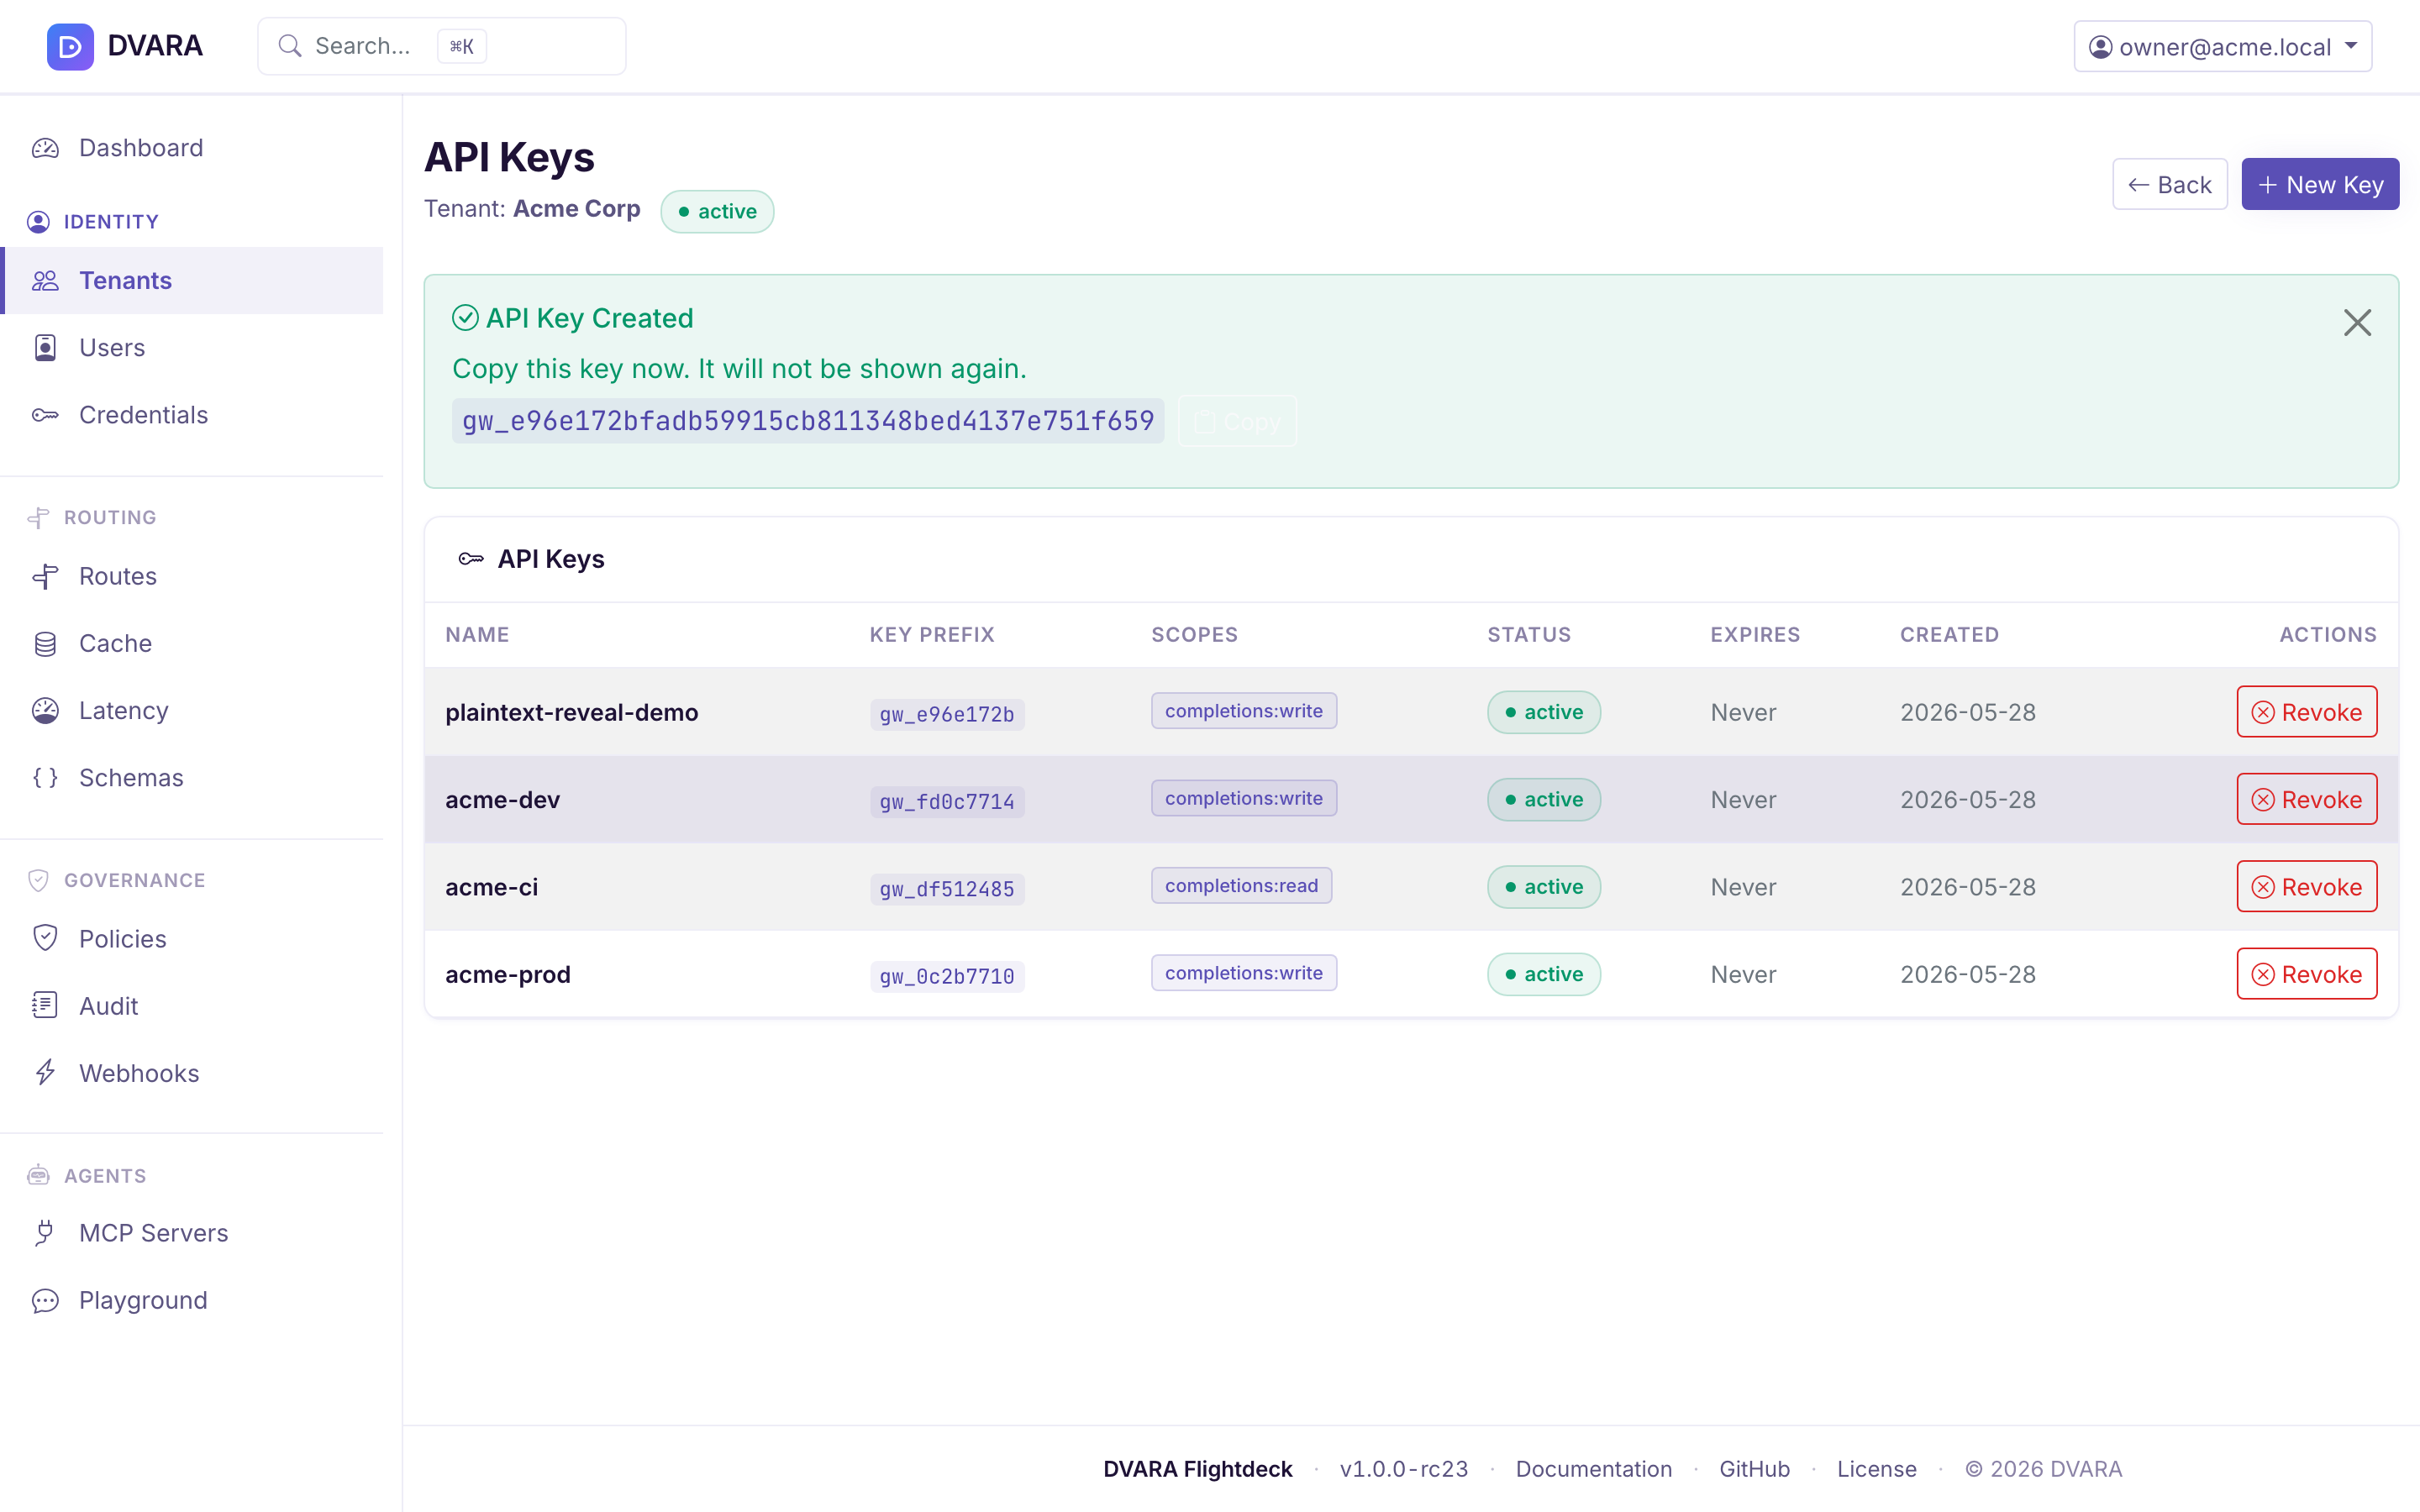
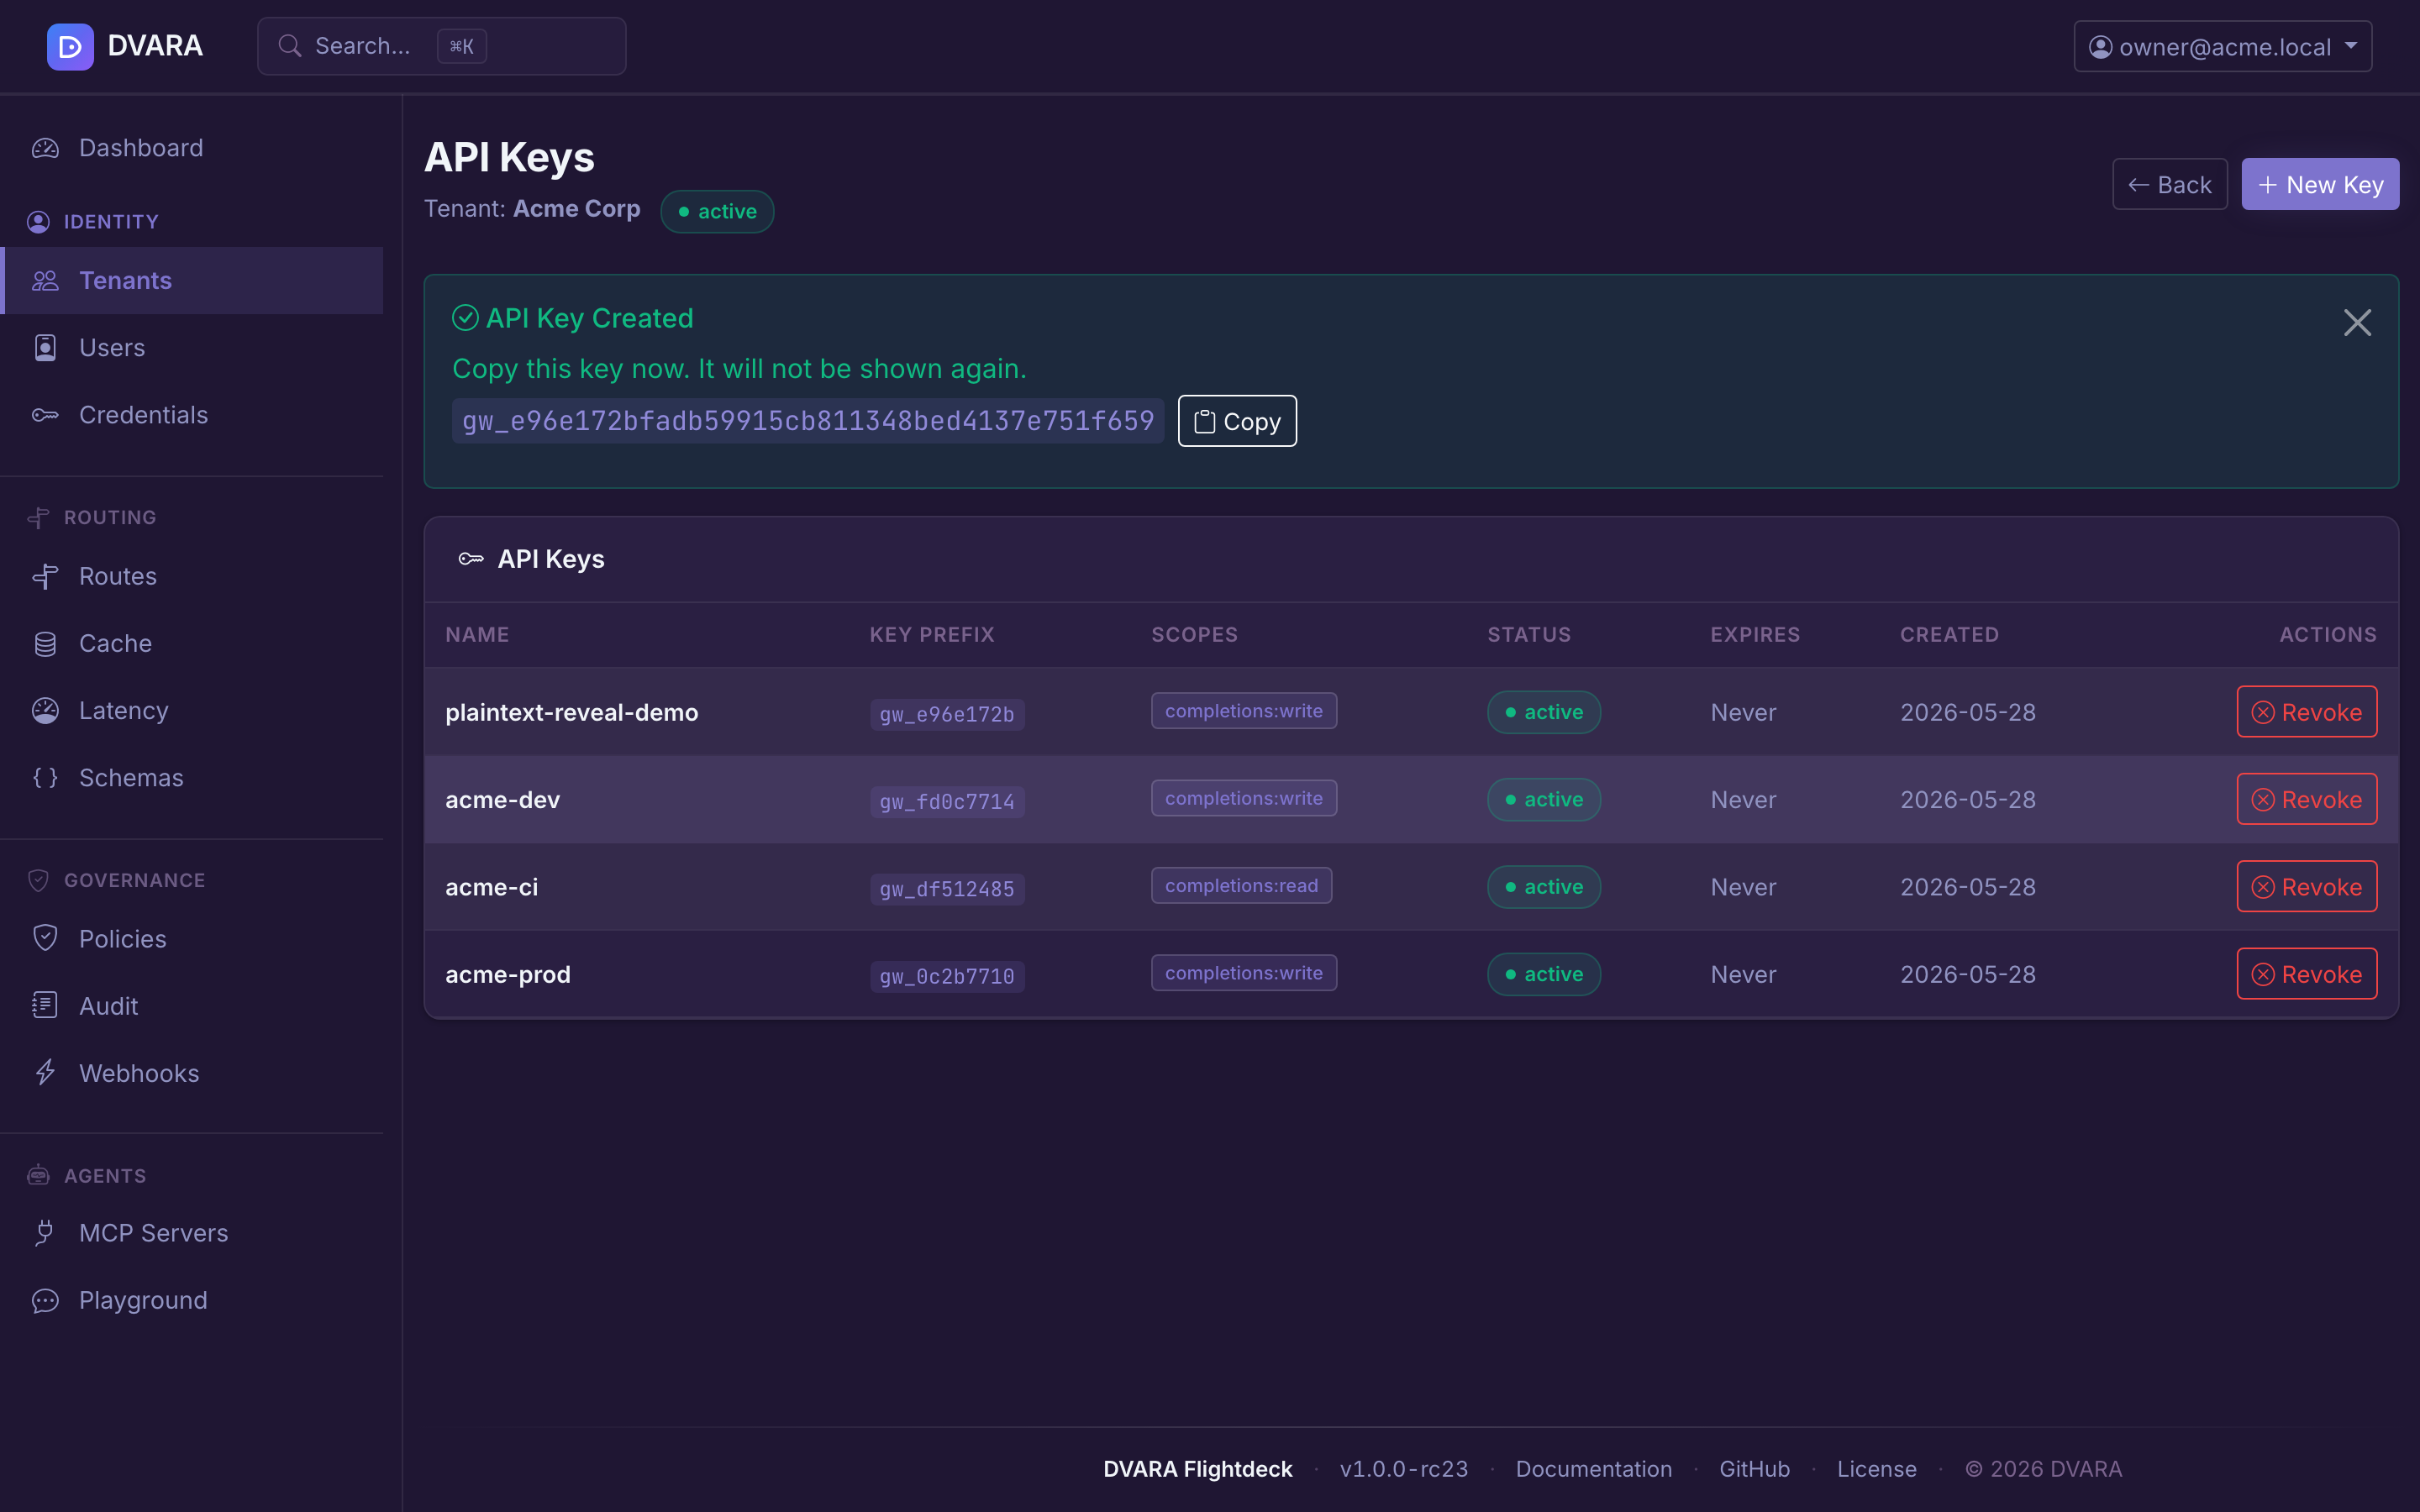
- Click into the new tenant → API Keys → Create Key. Give it a name like
quickstart-keyand submit.
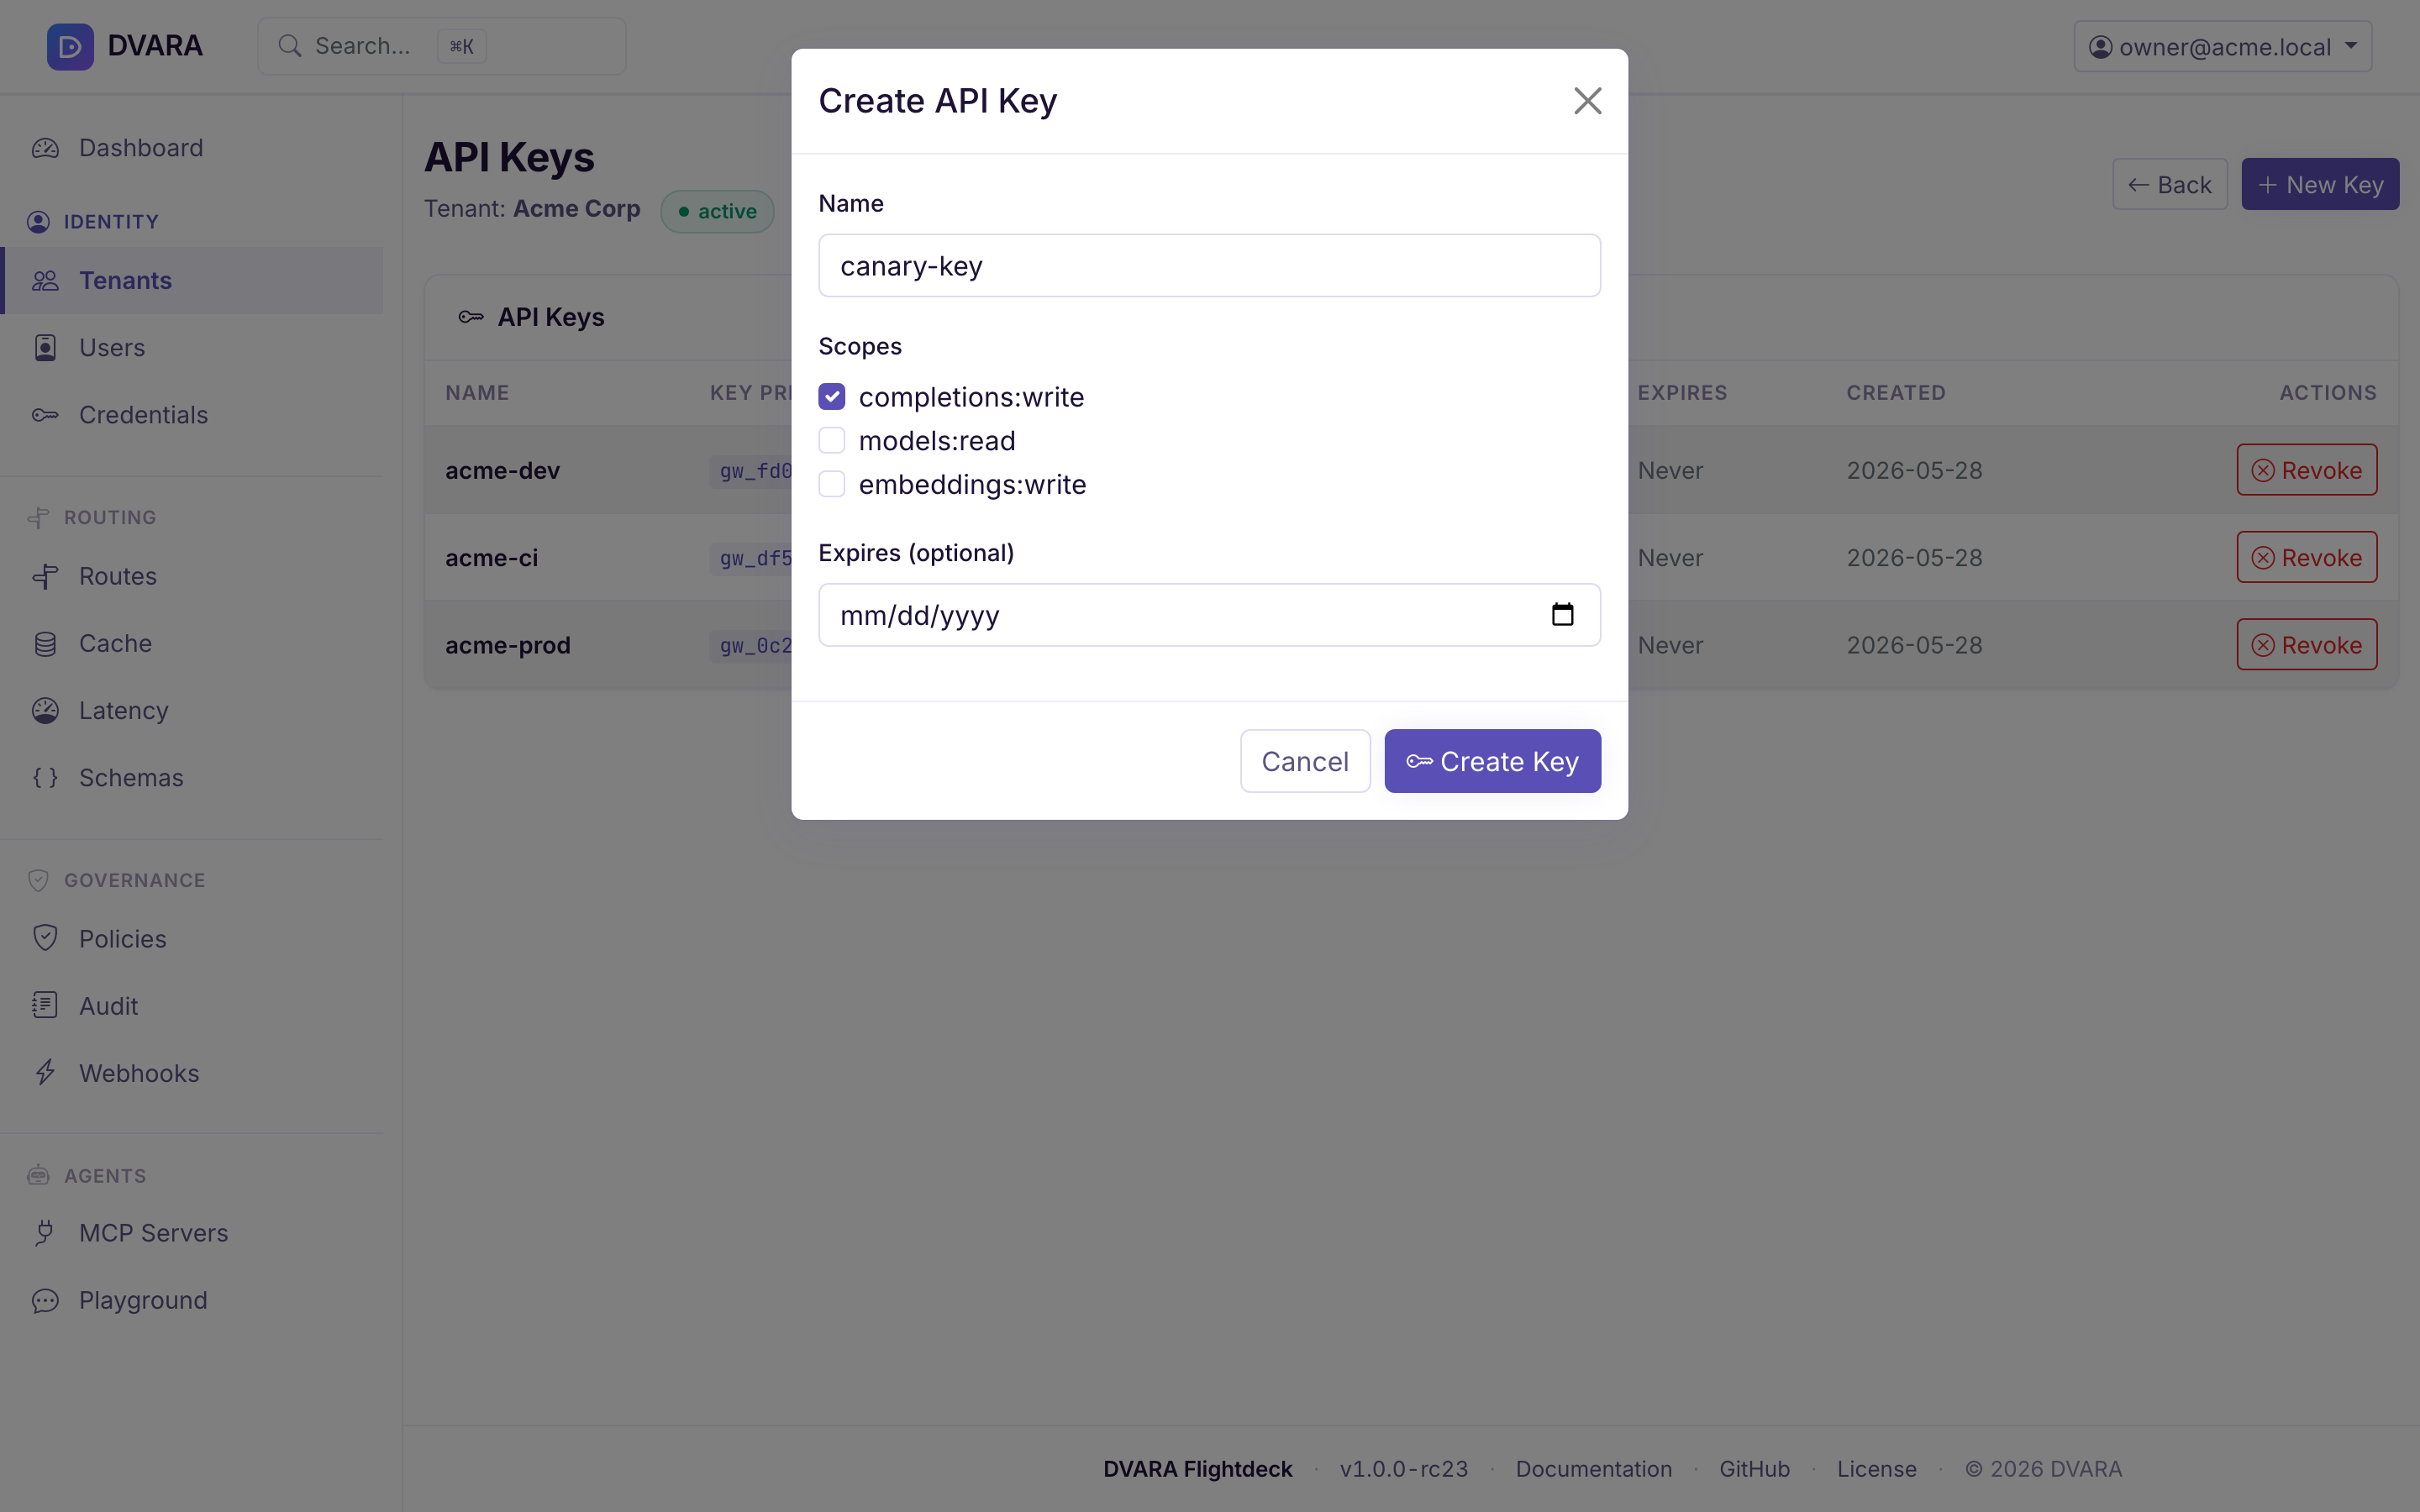
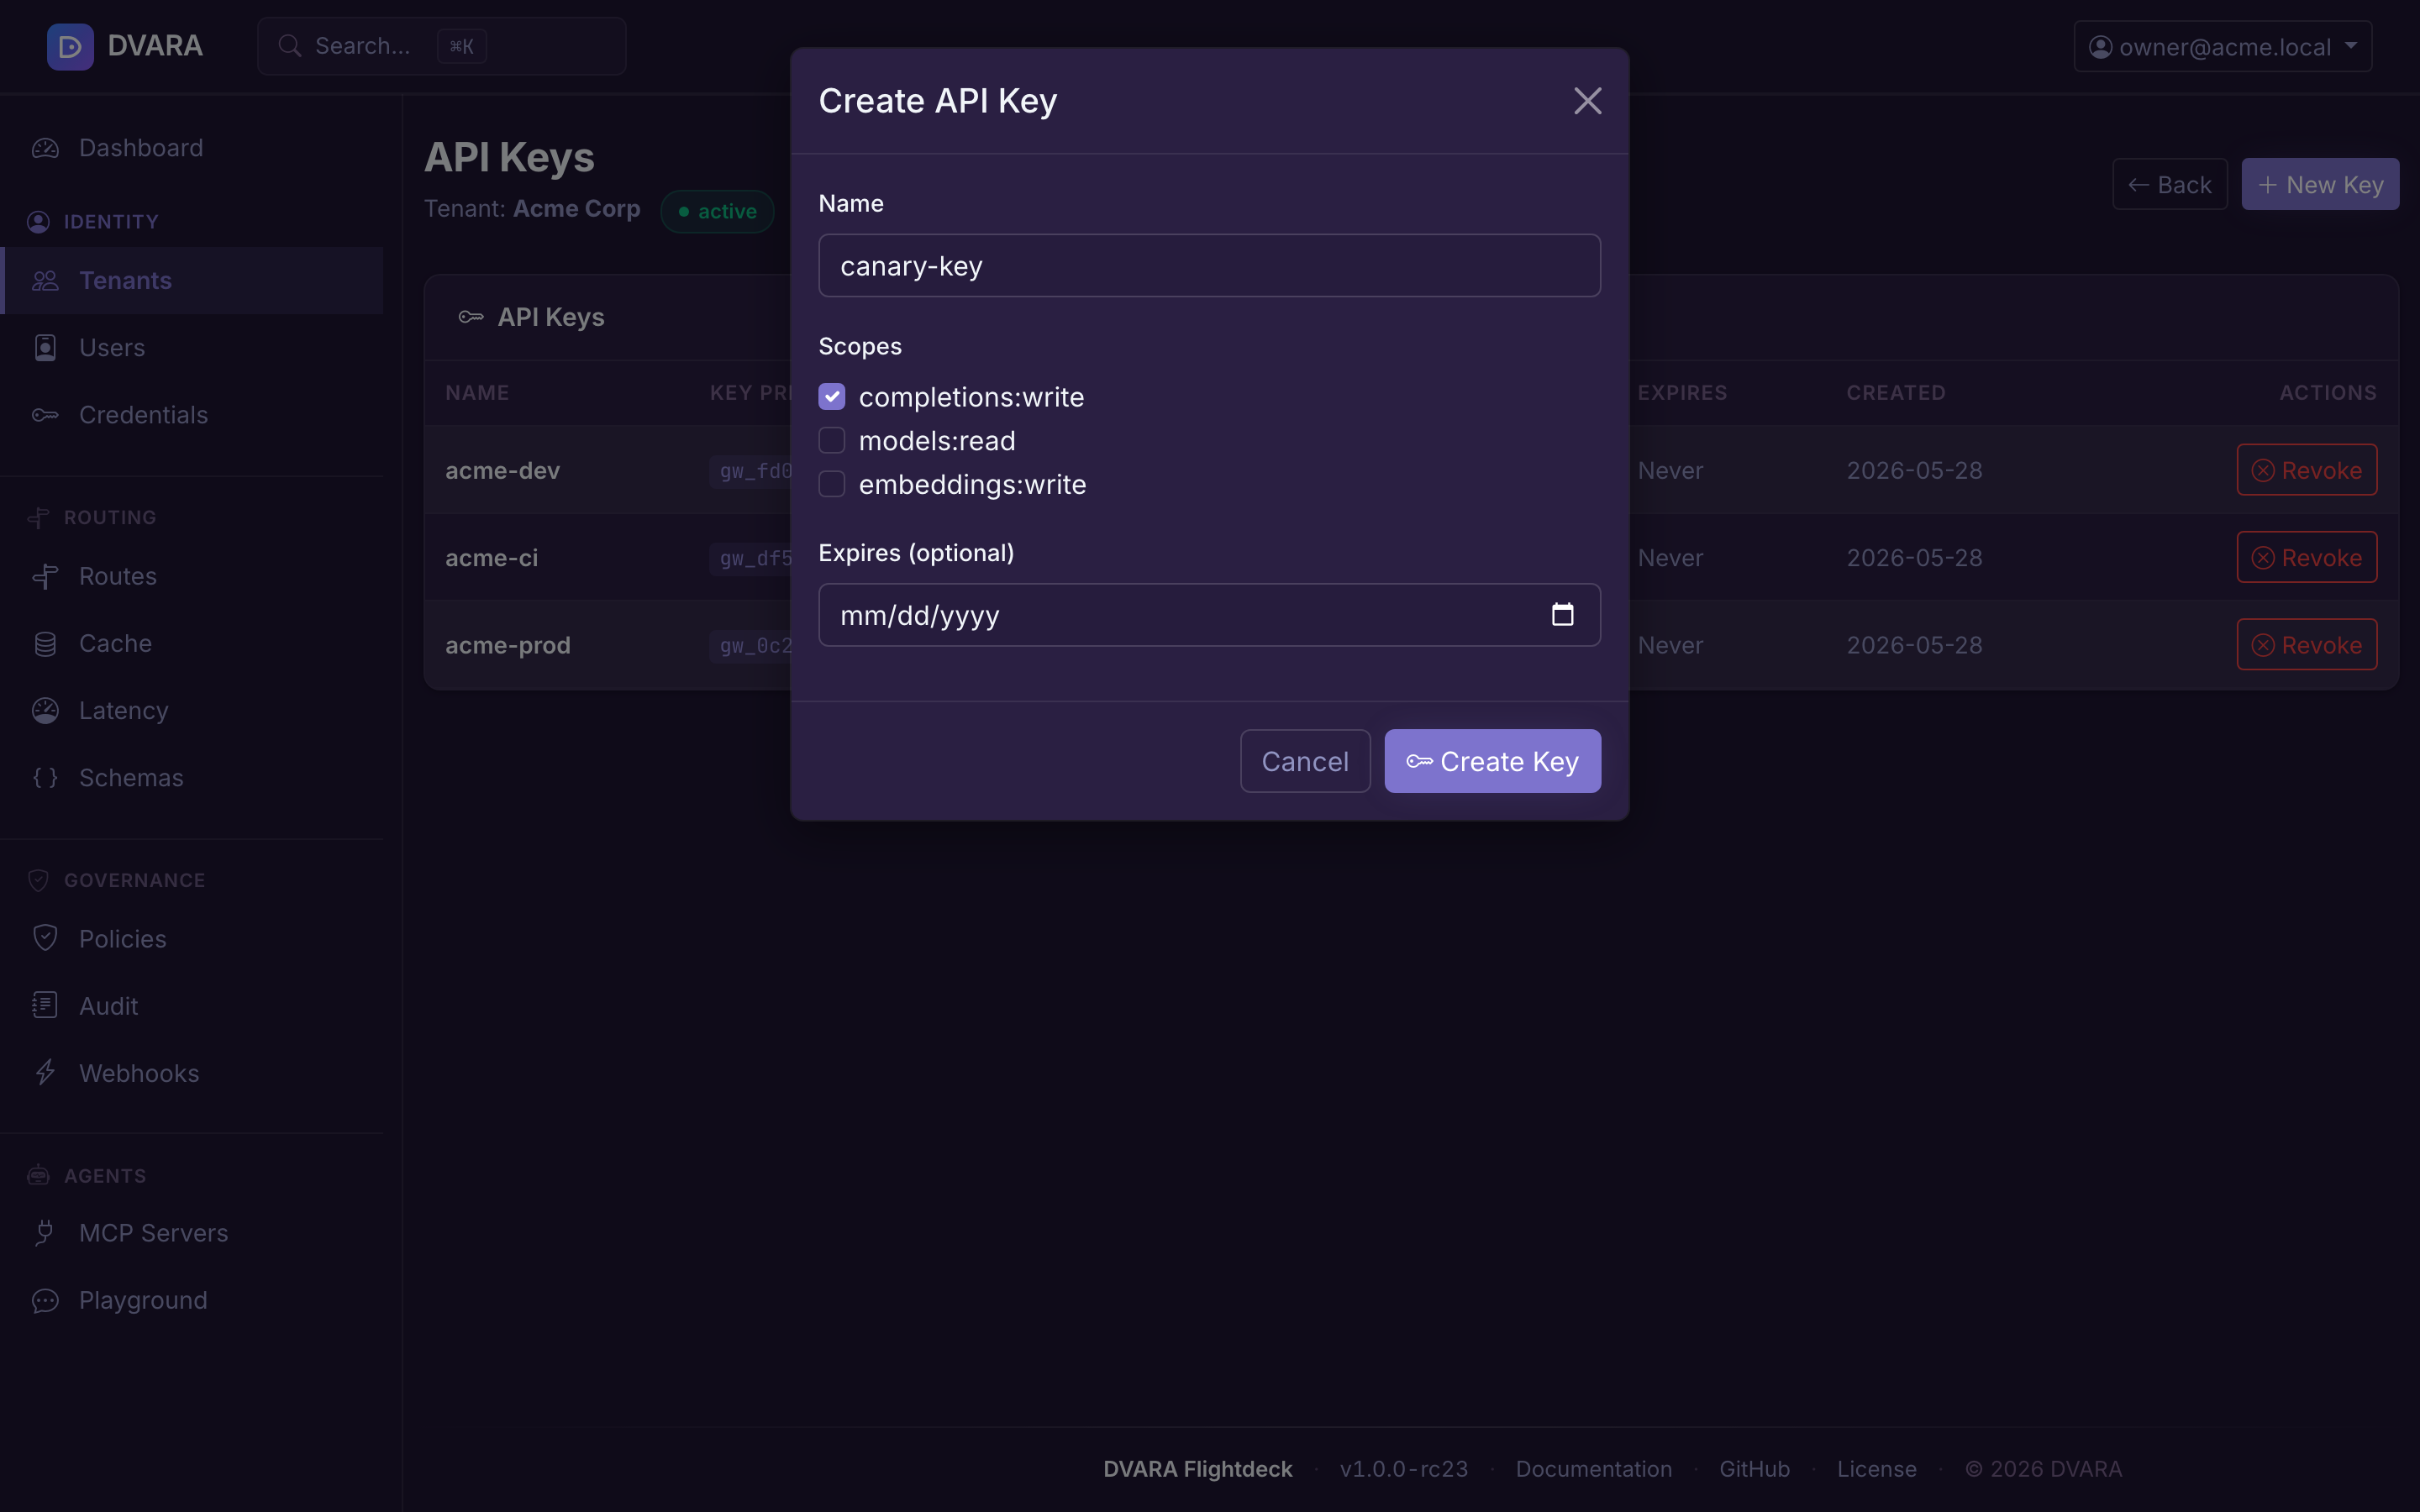
- Copy the generated
gw_...key from the confirmation screen — it is shown exactly once and never stored in plaintext. If you close the modal without copying, create another key.
Now repeat the chat completion call with the DVARA key attached:
curl -s -X POST http://localhost:8080/v1/chat/completions \
  -H "Authorization: Bearer gw_<your-tenant-key>" \
  -H "Content-Type: application/json" \
  -d '{
    "model": "gpt-4o",
    "messages": [
      {"role": "user", "content": "Hello from my first tenant"}
    ]
  }' | python3 -m json.tool
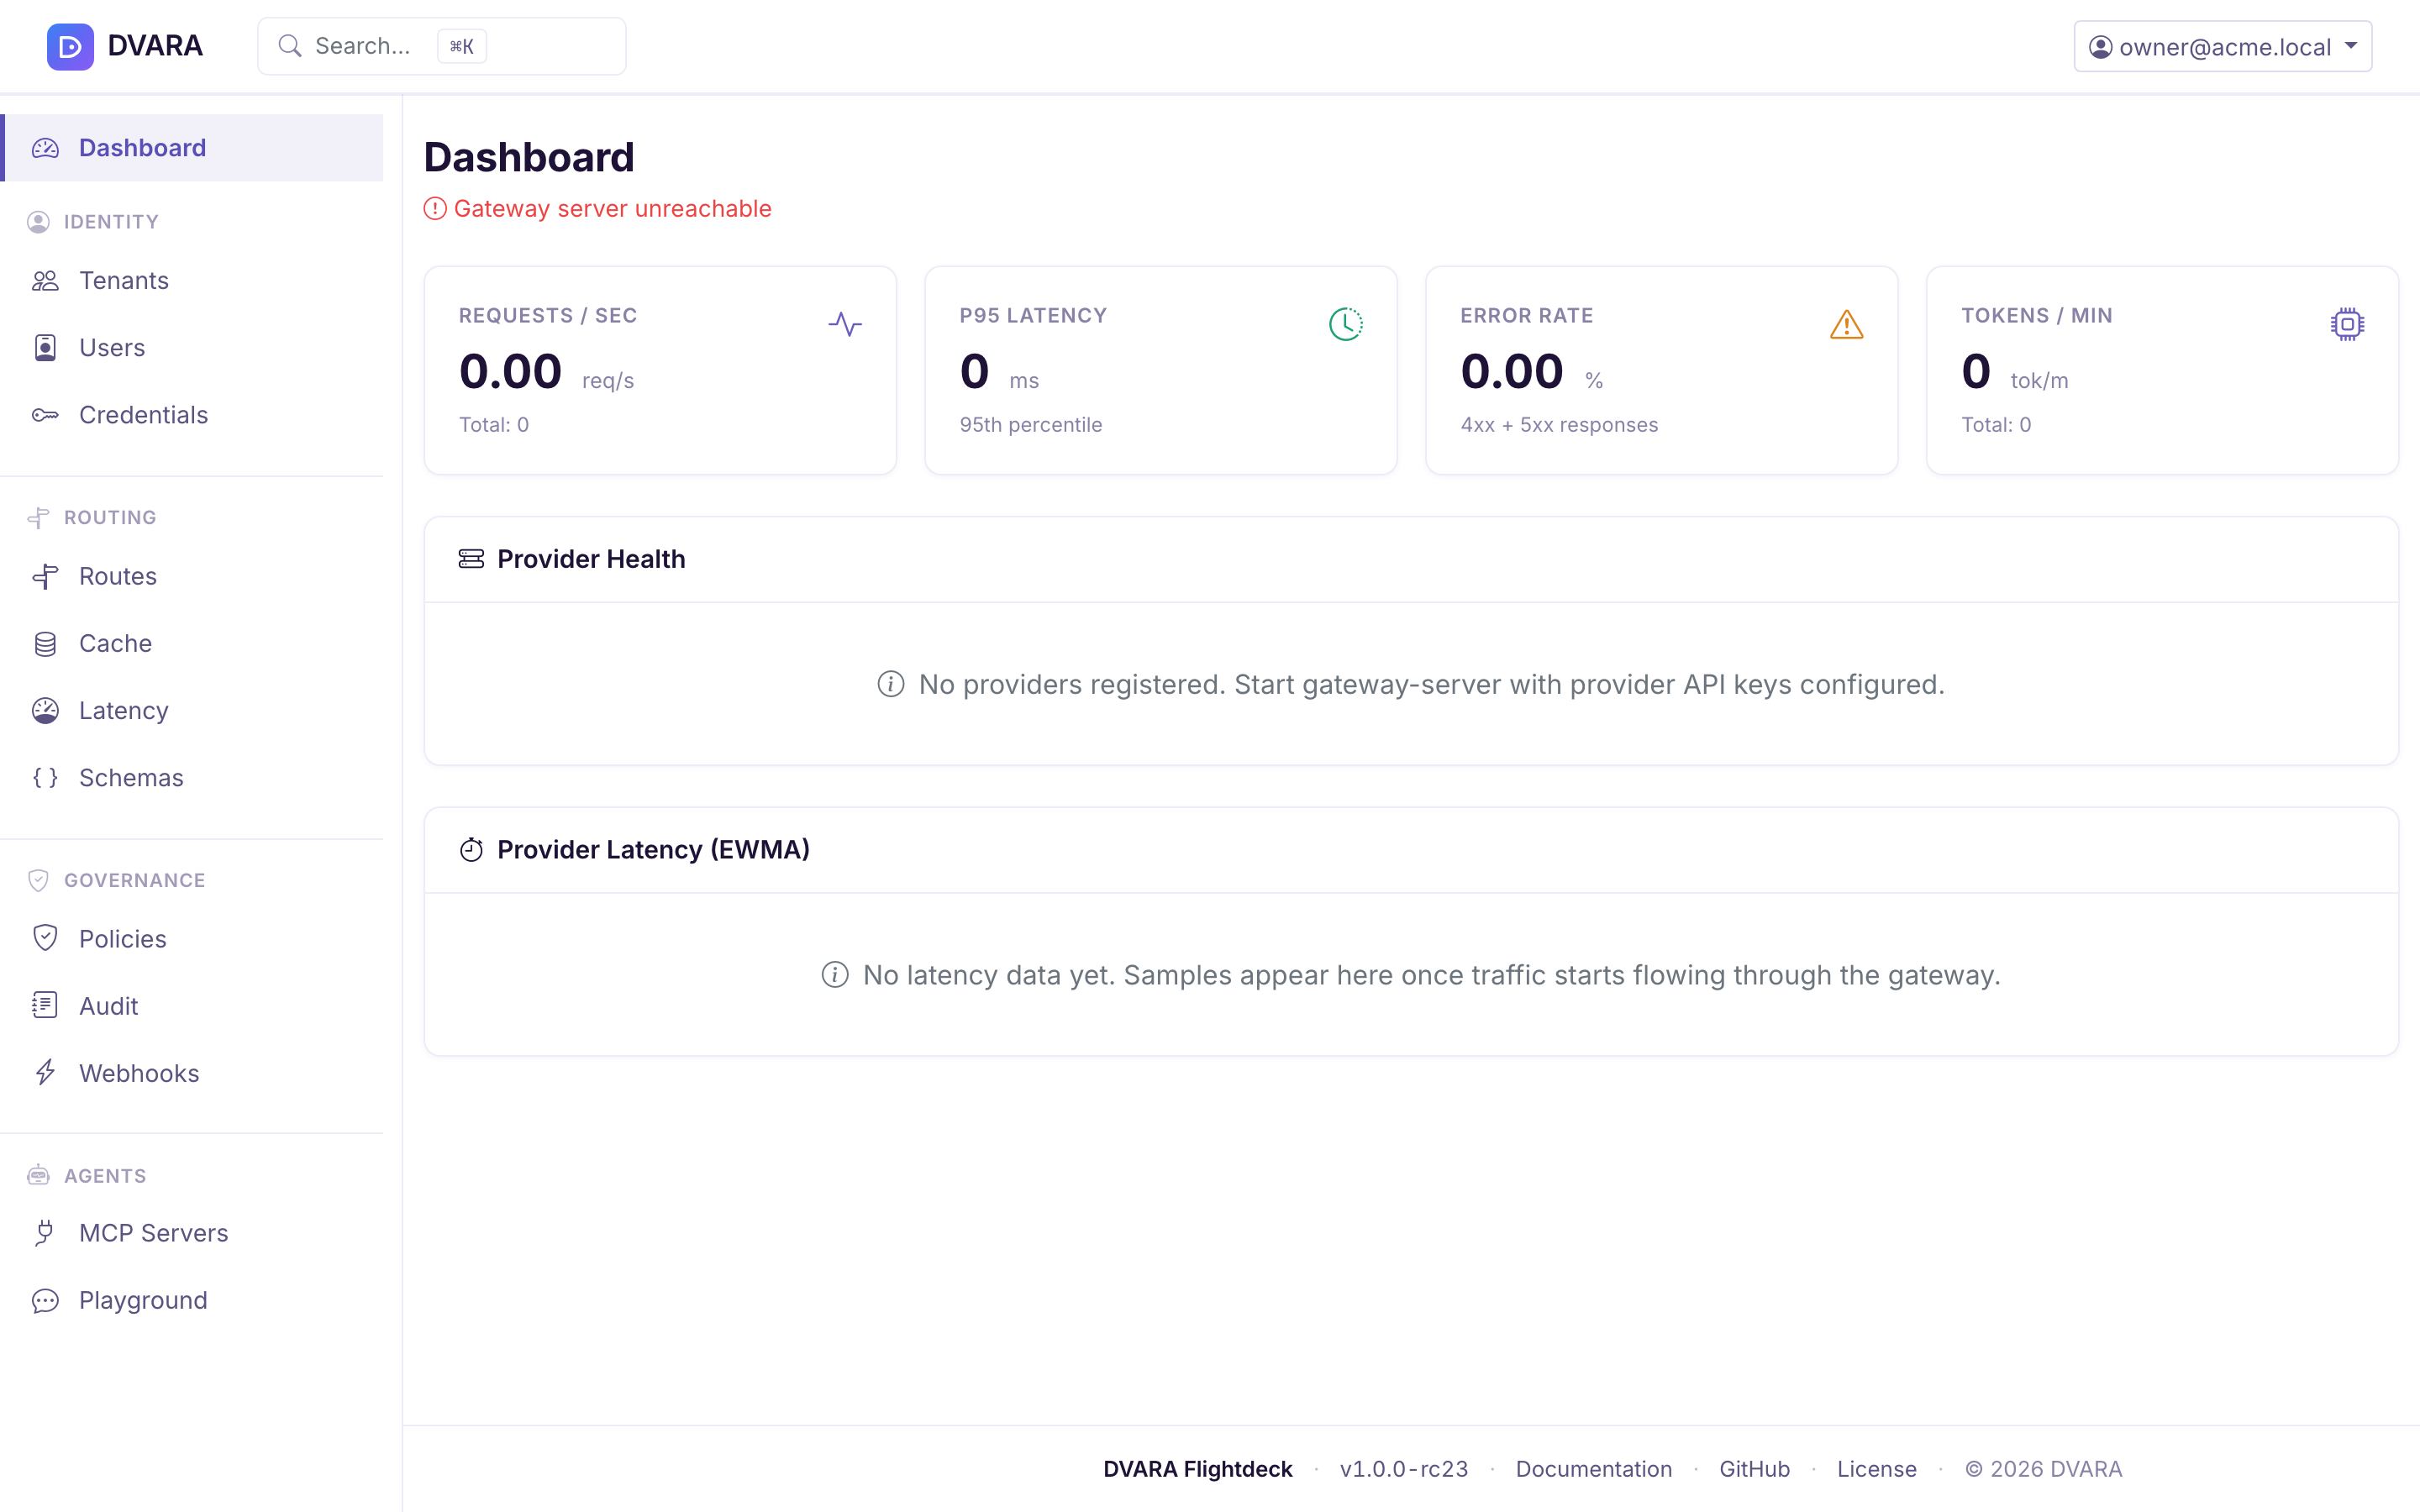
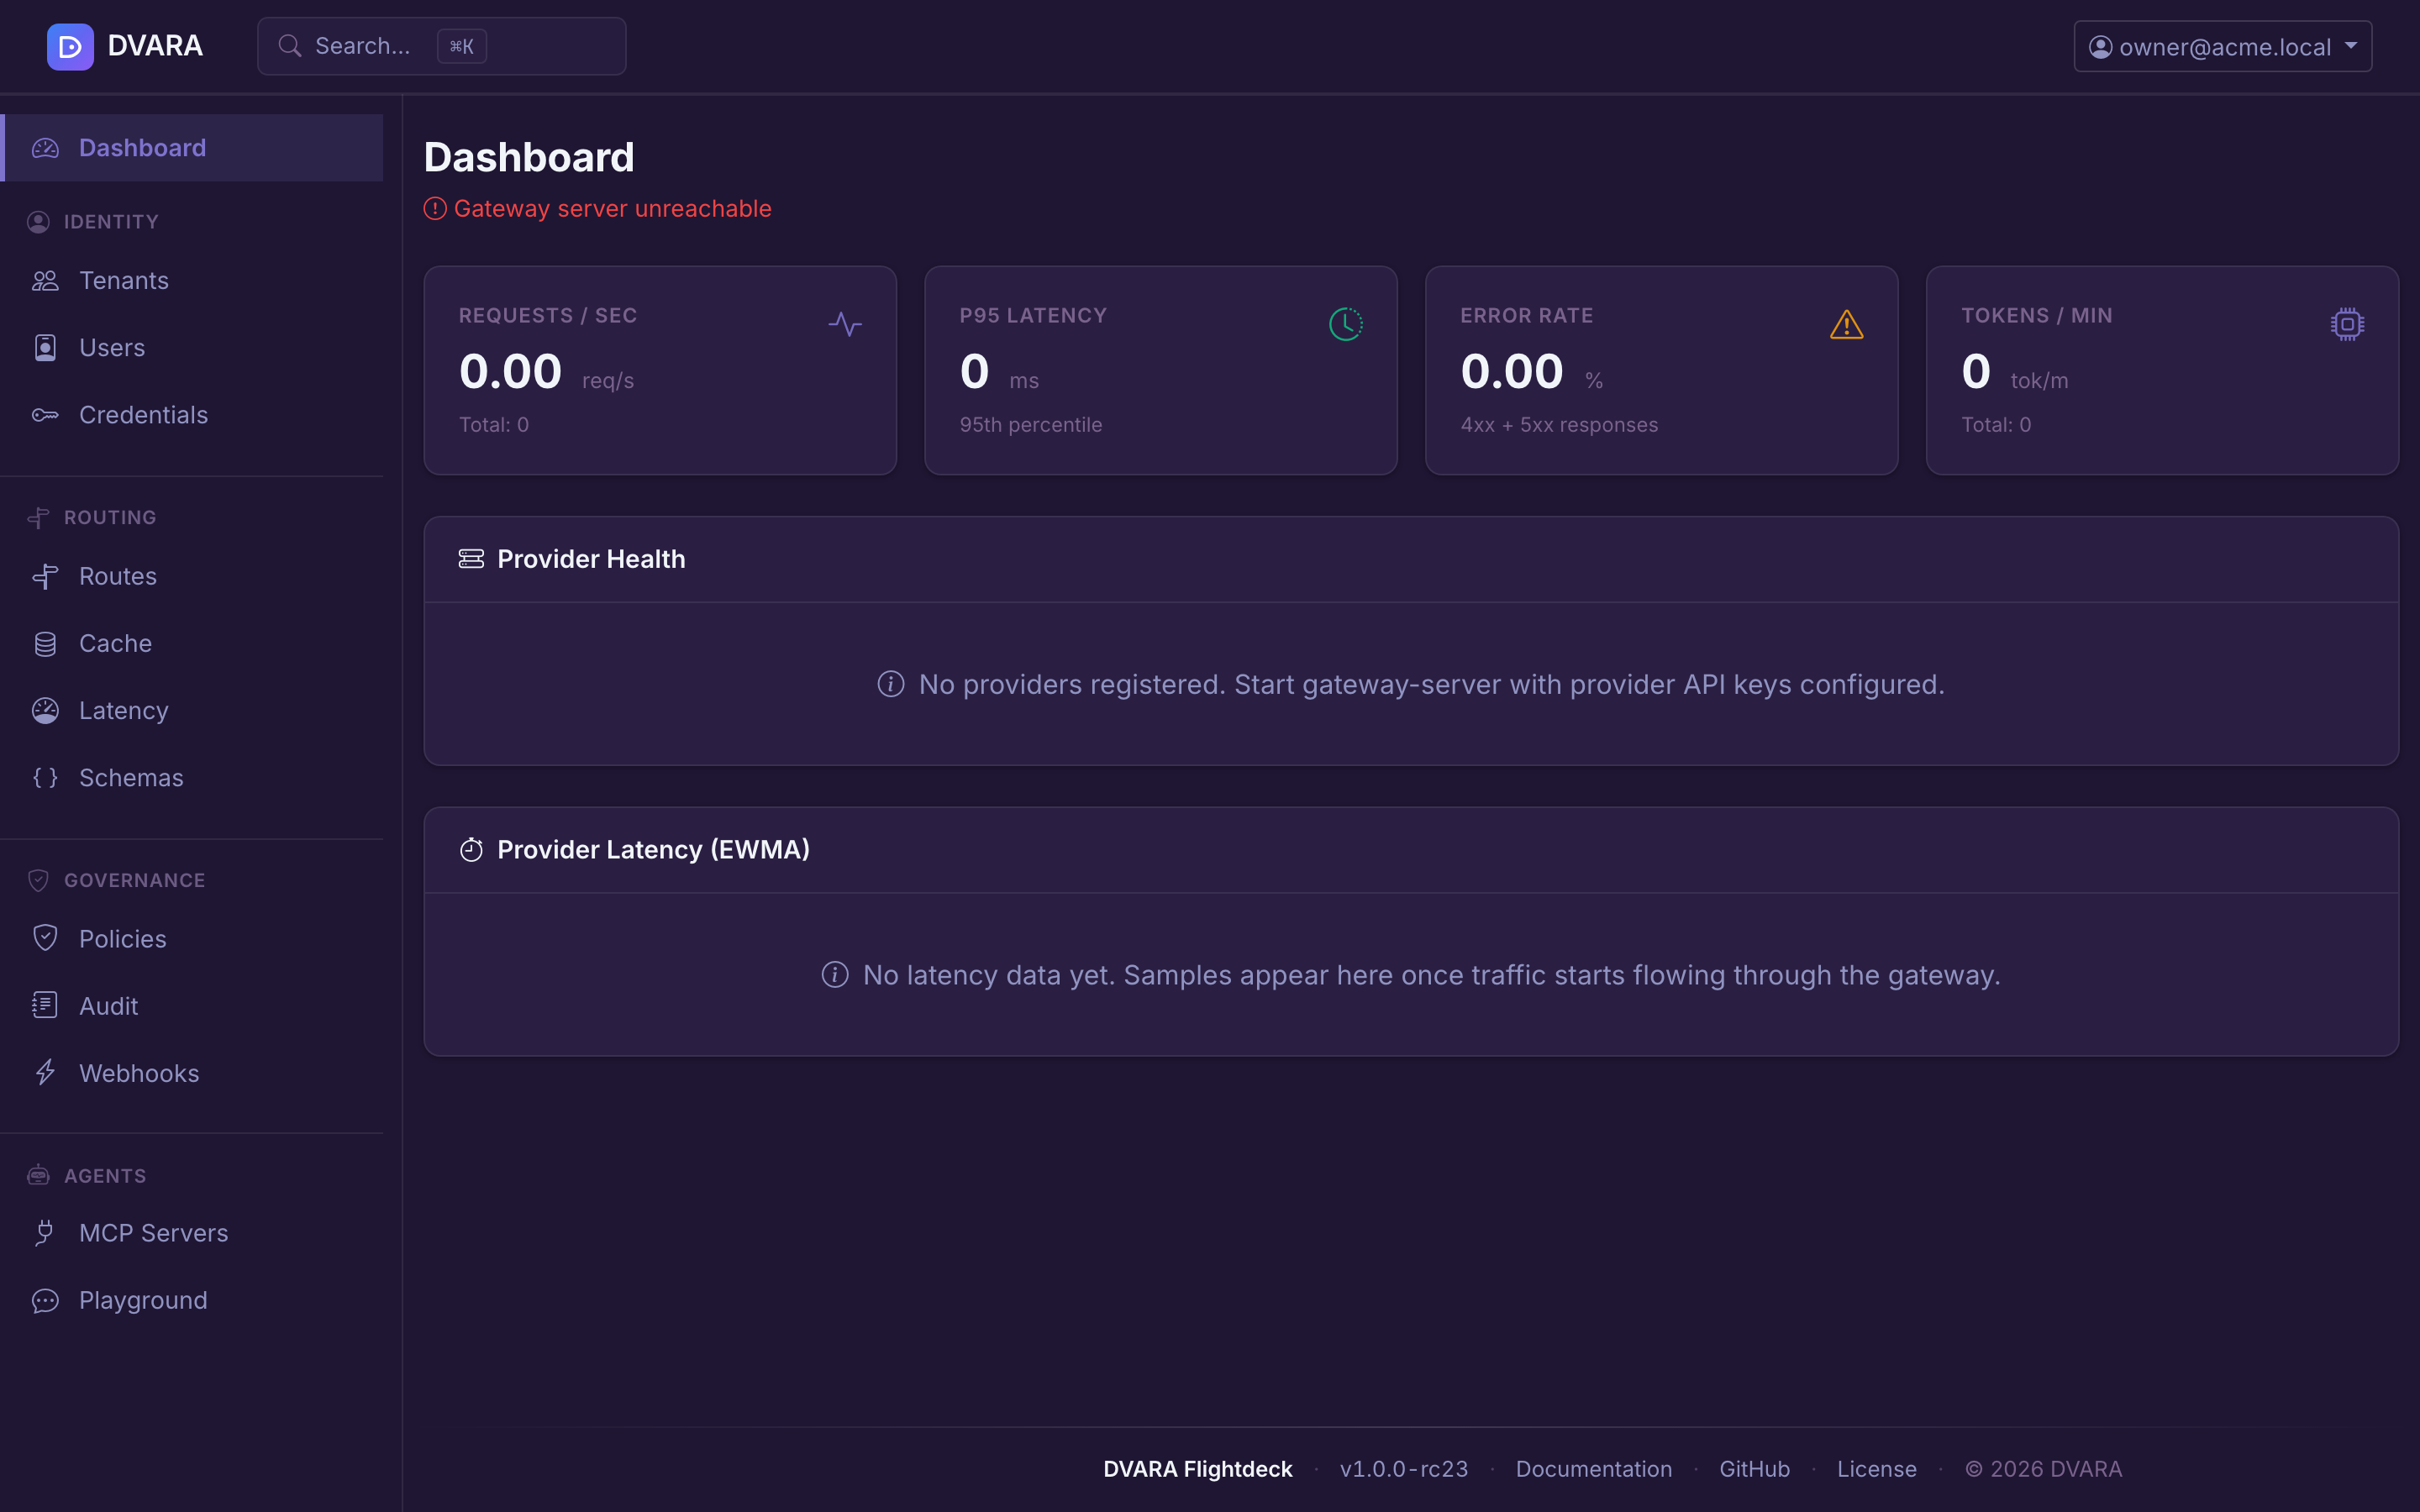
Go back to the DVARA Flightdeck and open Dashboard — you should see the request appear in the live metrics panel within a few seconds. Open Audit and you will see a GATEWAY_RESPONSE audit event tagged with your tenant ID and API key fingerprint. Open Token Usage to see the tokens and cost broken down per tenant.
Using the OpenAI SDK
DVARA is fully OpenAI-compatible — point any OpenAI SDK at http://localhost:8080/v1 and pass the DVARA key as api_key. The gateway handles everything else (tenant routing, rate limiting, audit, cost tracking, guardrails). To call Anthropic, Gemini, Bedrock, or any other DVARA-supported provider through the same OpenAI SDK, only the model field changes.
Copy-paste examples for every supported SDK and framework live in SDK & Framework Integrations:
- Python — OpenAI Python, Anthropic SDK via DVARA, AWS Bedrock, Google GenAI, LiteLLM, LangChain
- JavaScript / TypeScript — OpenAI JavaScript, Anthropic JS, Vercel AI SDK
- Java — OpenAI Java SDK, Spring AI, LangChain4j
Stop the stack
docker compose down        # stop containers, keep the postgres volume
docker compose down -v     # stop and also delete the postgres volume
Use down while you are iterating — it preserves your tenants, API keys, audit trail, and configuration across restarts. Use down -v only when you want to reset the environment completely.
Troubleshooting
If the gateway crashes on startup with this banner, the SPRING_DATASOURCE_* environment variables are missing. DVARA requires PostgreSQL — there is no in-memory fallback.
========================================
  STARTUP FAILED: PostgreSQL is required
========================================
  spring.datasource.url is not configured.
  DVARA requires PostgreSQL — there is no
  in-memory fallback.
========================================
Every stack in dvara-examples already wires PostgreSQL correctly. If you see this error, make sure you ran docker compose up -d from inside docker-compose/quick-start/ (or one of the other stack directories) — not from a custom file that stripped out the database service.
If either container crashes with a license banner, DVARA_LICENSE_KEY is either unset, set to an empty string, or pasted with a line break in the middle. Both the gateway and the DVARA Flightdeck validate the token at startup, so both must see the same value.
Fix:
- Re-copy the license token from the trial email — one continuous string, no whitespace.
- Put it in
.envasDVARA_LICENSE_KEY=DVARA-...(the license is aDVARA--prefixed Ed25519-signed envelope, not a JWT). docker compose down && docker compose up -d.
Environment values are read at container start; editing .env while the stack is running has no effect until you restart.
Next steps
- Docker Compose Setup — all four stacks (
quick-start,multi-provider,ollama,full) and how to enable OIDC, SAML, or built-in auth - Provider Setup — configure OpenAI, Anthropic, Gemini, Bedrock, Azure OpenAI, Mistral, Cohere, Groq, Qwen, DeepSeek, Moonshot, ChatGLM, Grok, and Ollama in detail
- Configuration Reference — every environment variable the gateway and DVARA Flightdeck understand
- API — interactive OpenAPI reference for every
/v1/*endpoint, with a configurableTry itpanel